
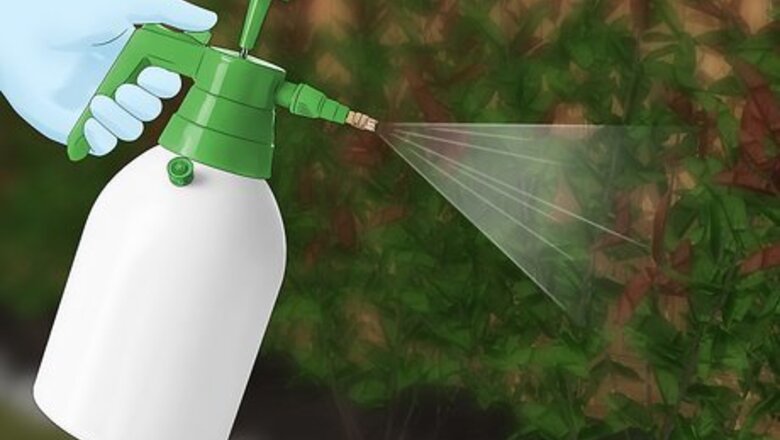
Emptying the Tank

Finish on an empty tank. Plan ahead with your herbicide or pesticide so that you’re only filling the tank with as much of the liquid as you need. Spray plants a second time if you need to use up excess herbicide since almost all herbicides are approved to be sprayed twice.

Dispose of any liquid remaining in the sprayer. Contact your local health department or environmental agency to find a safe way to dispose of this liquid. Do not empty the chemicals onto grass, near any flowers or plants, down a drain or into a water source. Doing so can harm local plants and animals. If you need to empty your sprayer quickly, find an empty plastic or glass container that you can pour the leftover chemicals into (such as the original bottle), then seal and dispose of it later. A large, sterile gravel parking lot can also be used for spraying out the last bit of remaining product as a last resort to storing it for transfer to a proper disposal site if absolutely necessary. Avoid spraying it in the most heavily trafficked part of the gravel lot. Choose an out-of-the-way location, such as near a fence.
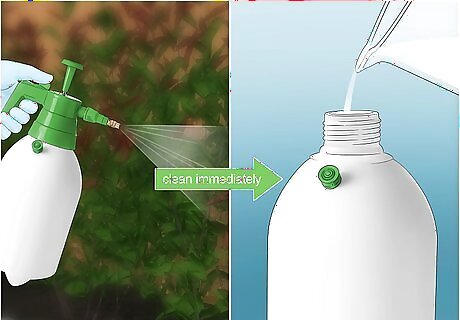
Clean the sprayer immediately after each use. Do not allow the sprayer to sit with herbicide or pesticide in it, even just overnight. Residues from the chemicals you use can build up over time and make your sprayer more difficult to clean.
Rinsing the Sprayer

Check the label of the herbicide or pesticide that was recently used. Depending on the chemical, there may be specific instructions for how to clean the sprayer. Follow any cleaning directions on the product's container.
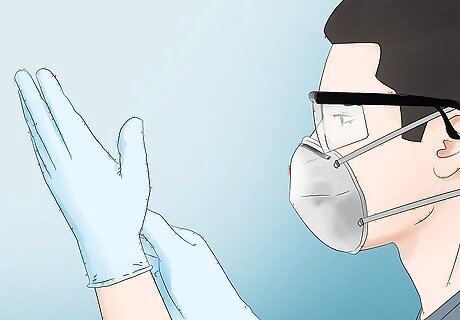
Wear proper safety gear. Since you'll be working with harsh chemicals, make sure you wear rubber gloves and safety goggles. If you have one, wear a face shield to protect yourself from splashes.

Flush the garden sprayer with hot water. Fill the reservoir until it’s about halfway full, and then squirt the hot water through the garden sprayer until all the water in the reservoir has been used. Spray the water in a safe location, away from water sources and areas accessible to children and pets. Consider spraying next to or near where you were using the herbicide or pesticide since the chemical residue will be the same. If you will be using the same type of chemical the next day, you can stop after a thorough flush with water and skip any further cleaning until you’re completely finished with that product.
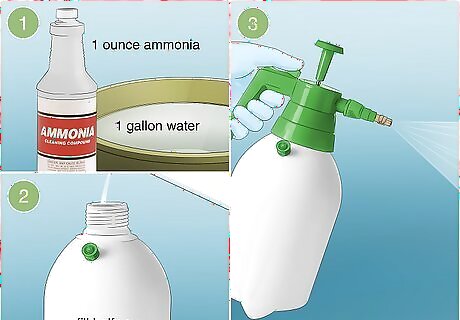
Flush with an ammonia-based cleaning solution. The cleaning solution should contain about 1 ounce (30 mL) of ammonia per gallon (3.8 L) of water. Fill the reservoir about halfway with this solution, and then spray the cleaning solution through the garden sprayer at least three times to flush the wand and the nozzle. Ammonia is effective for most herbicides, but not all. Research your particular herbicide to see if a bleach solution, powdered detergent, or kerosene solution would be better. De-greasing liquid dish soap also works well, especially on petroleum-based chemicals. You can also purchase a commercial tank cleaner at a hardware or home improvement store. Look for one tailored toward the type of chemical you’re using in the sprayer, and follow the directions on the packaging.

Leave the garden sprayer to rest overnight. With the reservoir about half full of cleaning solution, let it sit for several hours, preferably overnight. This will allow the solution to work into the residue in your sprayer and break it down.

Spray the remaining solution through the garden sprayer. The next day, spray until you’ve emptied the cleaning solution from the reservoir. Since the sprayer may still contain pesticide or herbicide residue, it’s best to spray it in a safe area away from water sources and areas accessible to children and pets.

Flush the garden sprayer again with hot water. Fill the reservoir about halfway with water again, and spray the hose until you’ve emptied the remaining water in the reservoir.

Give the small parts a deeper clean. Take the hose, wand, and nozzle apart to give them a more thorough cleaning. Rinse them with warm, soapy water, and try using an old toothbrush to scrub the small crevices. Be sure to wear protective clothing and chemical resistant gloves at all times when handling sprayer parts while cleaning.


Comments
0 comment