
- Make sure you have a hard drive that's at least as large as the drive you want to clone.
- You can use Clonezilla to ghost a drive on Windows, and SuperDuper! to ghost a drive on a Mac.
- To use Clonezilla for Windows, you'll need to install it on a USB flash drive and then boot from it.
Preparing to Ghost (Windows)

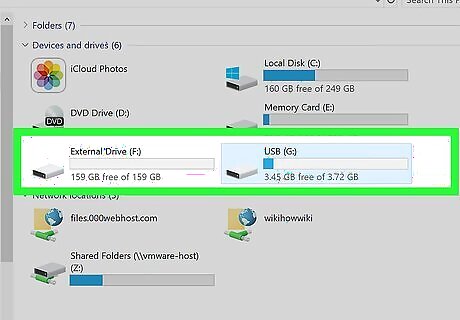
Buy an external hard drive. Typically speaking, you'll need an external drive that's at least as large as the hard drive you want to clone. For example, if your computer has a 500 GB hard drive, you'll want to buy a 500 GB hard drive. To see your computer's hard drive size, click Start Windows Start, type in storage, click Storage, and look at the number to the right of "This PC" below the "Local storage" heading.
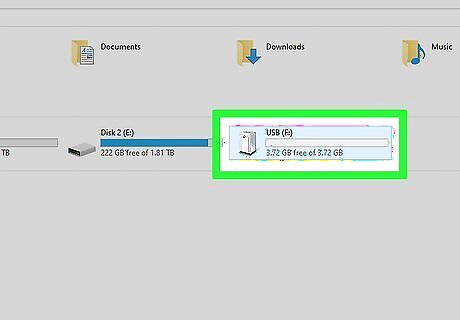
Make sure you have a spare USB flash drive. In order to use Clonezilla, you'll need a flash drive with at least 2 GB of storage space. Since Clonezilla is minimal program, you'll need to install it onto a flash drive before you can run it.

Format your external hard drive for your PC. Formatting your external drive will ensure that it is compatible with both your computer and other Windows computers. When selecting a "File system" option, make sure you click either NTFS or exFAT.
Download and install the LinuxLive USB creator. This is the program you'll use to install Clonezilla onto your USB flash drive: Go to http://www.linuxliveusb.com/ in your computer's web browser. Click Download in the middle of the page. Click Download LiLi at the top of the page. Double-click the downloaded LinuxLive setup file. Follow the on-screen prompts.
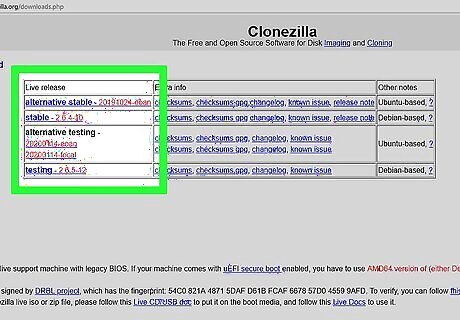
Download Clonezilla. Clonezilla is a free program that you can use to clone your computer's hard drive onto an external hard drive: Go to https://clonezilla.org/downloads/download.php?branch=stable in your computer's web browser. Click the "zip" drop-down box in the "Downloads" section, then click iso in the resulting drop-down menu. Click the grey Download button in the "Downloads" section. Wait for five seconds (the download will begin immediately after).
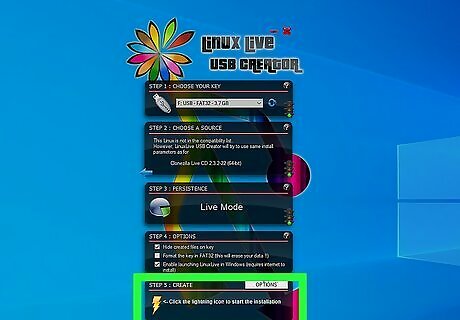
Install Clonezilla onto your flash drive. You'll use the LinuxLive (LiLi) USB Creator program to do so: Open the "LiLi USB Creator" program if it didn't open after finishing the installation process, then click Yes when prompted. Click the "Choose a USB key" drop-down box at the top of the window, then click your flash drive's name. Click ISO / IMG / ZIP. Select the Clonezilla ISO file, then click Open. Check the "Format the key in FAT32" box near the bottom of the window. Click the lightning bolt icon at the bottom of the window. Click OK when prompted to begin installing Clonezilla to the USB flash drive, then close LiLi USB Creator when the installation completes.
Leave both your USB flash drive and your external hard drive plugged in. Once you're done installing Clonezilla, you can proceed with ghosting your computer's hard drive.
Preparing to Ghost (Mac)

Buy an external hard drive. Typically speaking, you'll need an external drive that's at least as large as the hard drive you want to clone. For example, if your computer has a 500 GB hard drive, you'll want to buy a 500 GB hard drive. You can check your Mac's hard drive size by clicking the Apple menu Mac Apple, clicking About This Mac, clicking the Storage tab, and looking for the number of gigabytes on the left side of the window.

Format your external hard drive for your Mac. Formatting your external drive will ensure that it is compatible with both your Mac and other Macs. When selecting a "Format" option during the formatting process, make sure that you click Mac OS Extended (Journaled).
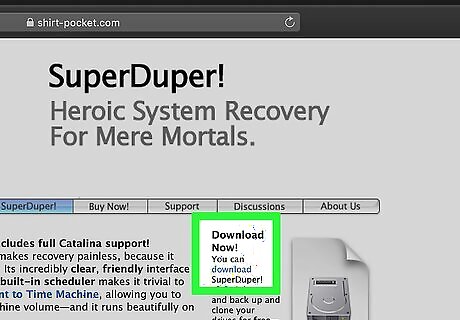
Download and install the "SuperDuper!" cloning program. SuperDuper! is technically a paid program, but you can use the free version of it to create a clone of your Mac's hard drive. To download and install it, do the following: Go to https://www.shirt-pocket.com/SuperDuper/SuperDuperDescription.html in your Mac's web browser. Click the small, blue download link under the "Download Now" heading in the upper-right side of the page. Double-click the downloaded DMG file. Verify the software if prompted. Click and drag the SuperDuper! icon onto the "Applications" folder. Follow any on-screen prompts.

Make sure your external hard drive is plugged into your Mac. Once you've finished formatting your external hard drive and installing SuperDuper!, you can proceed with ghosting your Mac's hard drive.
Ghosting (Windows)

Restart your computer into the BIOS. Click Start, click the Power icon, and click Restart, then immediately begin pressing your computer's BIOS key until the BIOS page opens. In most cases, the key that you press to access the BIOS will be either one of the "function" keys (e.g., F8), the Del key, or the Esc key. You can check your specific computer model's manual or online documentation to find the BIOS key to use. If your computer's "function" keys are inverted, you'll need to hold down Fn while pressing the BIOS function key.

Set your computer to boot from your flash drive. Each computer's BIOS will vary slightly, so check your computer model's documentation for specific instructions on setting BIOS boot order; however, in most cases, you'll do something like this: Select the Boot or Advanced tab at the top of the screen. Find the "Boot Order" section. Find your USB flash drive's name, then select it using the arrow keys. Press the + key to move the USB flash drive up to the top of the menu. If this doesn't work, check the key legend on the right side or bottom of the screen for explicit key instructions.
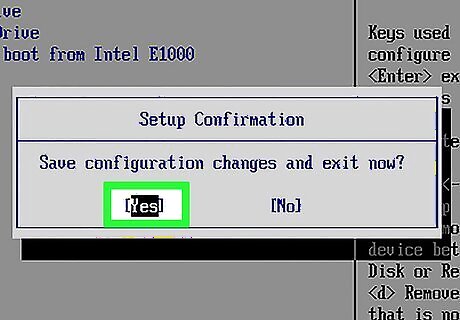
Save your changes and exit the BIOS. You'll usually do this by pressing a key that's listed in the legend on either the right side of the screen or the bottom of the screen.
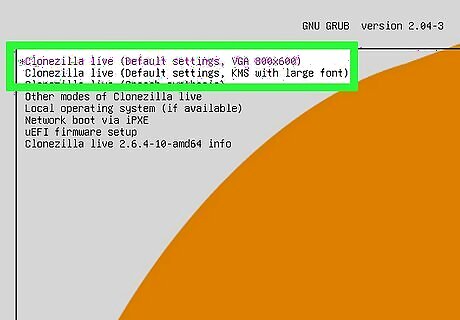
Accept the default settings. When the first Clonezilla page loads, press ↵ Enter to proceed with the default settings.

Select a language. Use the arrow keys to scroll down to the language you want to use, then press ↵ Enter to select the language and move on to the next option.

Select don't touch keymap. Press ↵ Enter to do so.
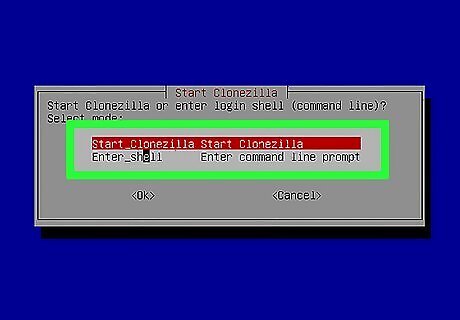
Select Start Clonezilla. It's the top option on the following menu. Pressing ↵ Enter will take you to the next page.
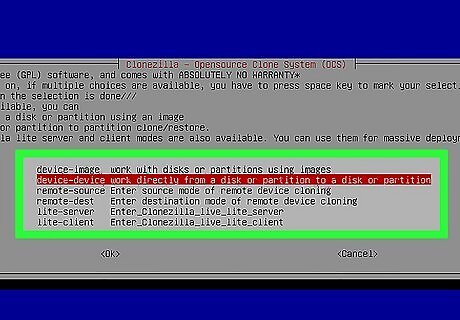
Select device - device. This option is in the middle of the menu.

Select Beginner. Doing so ensures that Clonezilla will take care of the more complicated settings.
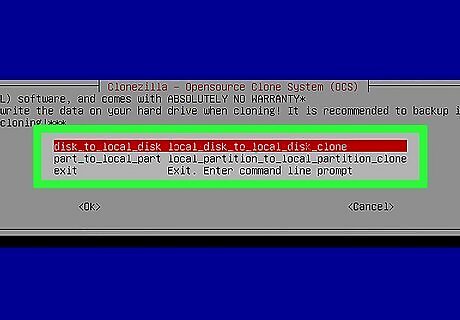
Select disk to local disk. This is the top option on this page.
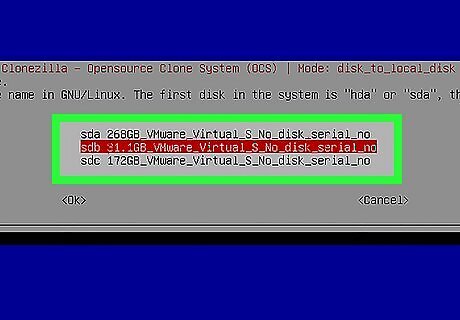
Select the hard drive you want to clone. In most cases, you'll move the cursor to highlight the top hard drive; this is usually the sda hard drive (the "a" refers to the first hard drive). You can double-check that you're selecting the correct drive by looking at how many gigabytes of free space the drive has listed next to its name. A hard drive labelled "sdb" would be the second hard drive, "sdc" would refer to the third, and so on.
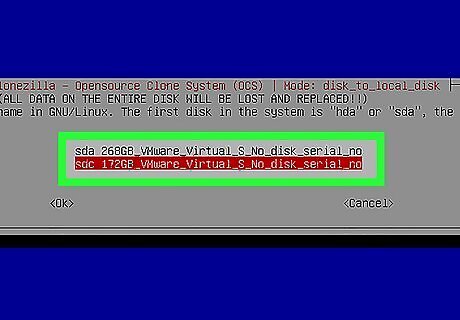
Select your external hard drive. This will usually be the only option on the page, but check the hard drive's storage number (e.g., "500 gb") near the left side of its name to be sure.
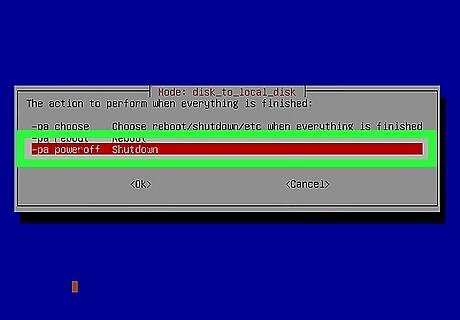
Select -pa poweroff. This ensures that Clonezilla will turn off your computer when it finishes cloning your hard drive, allowing you to remove your flash drive before restarting your computer. If you don't remove your flash drive before restarting your computer, your computer will just reboot from the Clonezilla installation again.
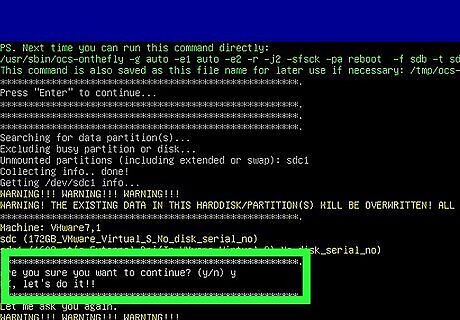
Confirm both prompts. Type y and press ↵ Enter when warned that the external hard drive will be overwritten, then type y and press ↵ Enter again when asked if you want to clone the boot loader.
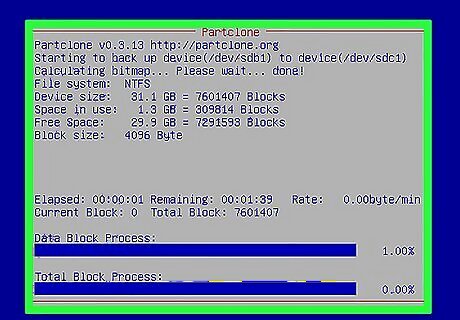
Wait for Clonezilla to finish cloning your hard drive. This can take several hours. When Clonezilla finishes, it will turn off your computer.
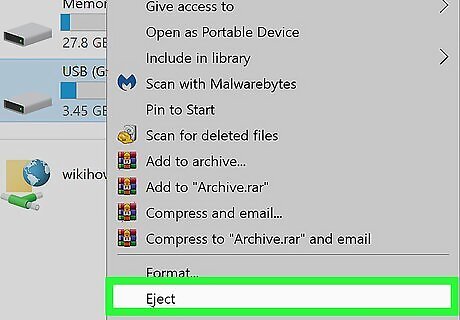
Remove both the hard drive and the USB flash drive from your computer. This will prevent your computer from restarting from one of the USB drives; at this point, you can turn back on your computer and use it like usual.
Ghosting (Mac)
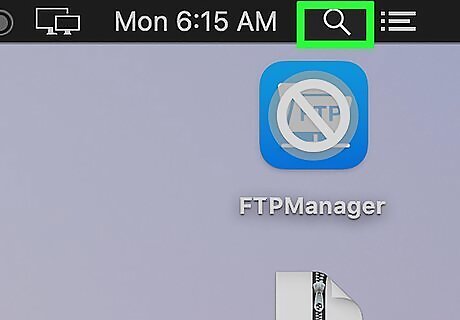
Open Spotlight Mac Spotlight. Click the Spotlight icon, which resembles a magnifying glass, in the top-right corner of the screen.

Open SuperDuper. Type in superduper, then double-click the SuperDuper! result in the drop-down menu.

Click the "Copy" drop-down box. You'll see this option on the left side of the SuperDuper! window. A drop-down menu will appear.
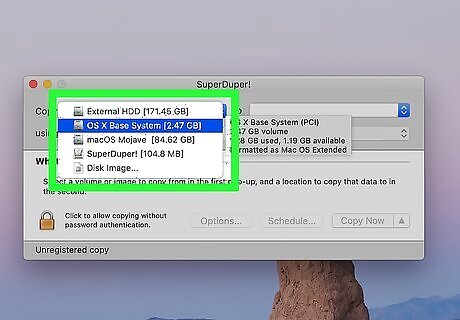
Select your Mac's hard drive. Click the name of your Mac's hard drive in the Copy drop-down menu.
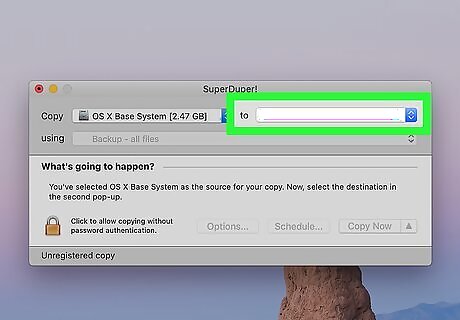
Click the "To" drop-down box. It's to the right of the "Copy" drop-down box. This prompts a drop-down menu.

Select your external hard drive. Click the name of your external hard drive in the drop-down menu to do so.
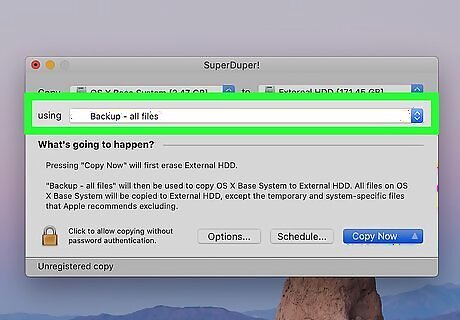
Click the "using" drop-down box. It's below the "Copy" drop-down box.

Click Backup - all files. You'll find it in the drop-down menu. Doing so ensures that your Mac's entire hard drive, settings and operating system included, will be cloned. Selecting Backup - user files won't create a clone of your hard drive.
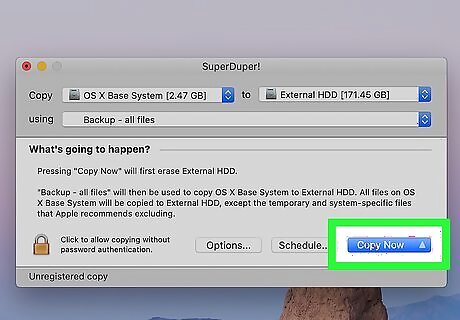
Click Copy Now. It's a blue button in the bottom-right corner of the window.
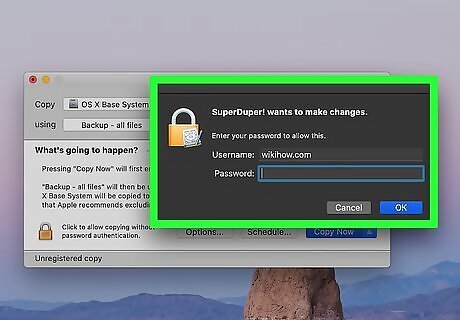
Enter your administrator password when prompted. Type in the password you use to log into your Mac, then press ⏎ Return.
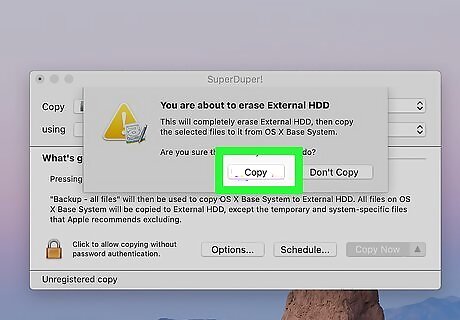
Click Copy when prompted. Doing so prompts SuperDuper! to begin cloning your Mac's hard drive onto the external hard drive.
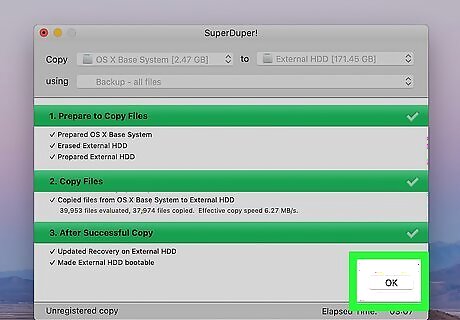
Wait for your hard drive to finish cloning. This can take several hours. Once the hard drive finishes cloning, SuperDuper! will prompt you to confirm; clicking OK on the prompt will complete the cloning process. After confirming, you can eject your external hard drive and then unplug the external hard drive from your Mac.


Comments
0 comment