views
Laying the Foundation
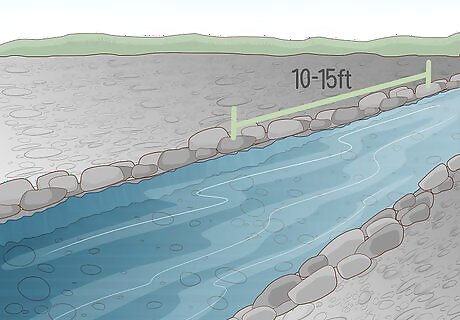
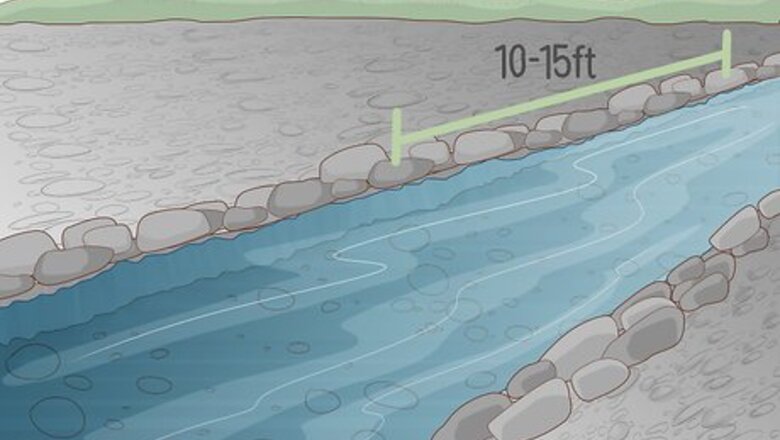
Designate a shallow, manageable section of the river as the site for your dam. It will take less time to create a barrier across narrow sections, but they're also where the water typically flows the fastest. Conversely, wider sections tend to be more calm, but blocking them off may require quite a bit more material and labor. If possible, try to find a site that offers a good compromise between size and ease of access. Be sure to also take into account how much time you have, as well as the amount of raw materials available to you. For instance, you may be able to dam up a 10–15 ft (3.0–4.6 m) section of the river in a just few hours using materials gathered on-site. Avoid areas where the river floor is especially soft, loose, or uneven. A weak base could leave your dam vulnerable to leakage. If the floor of the section you've chosen for your dam is too deep for you to see or feel, it's probably too deep to build on.
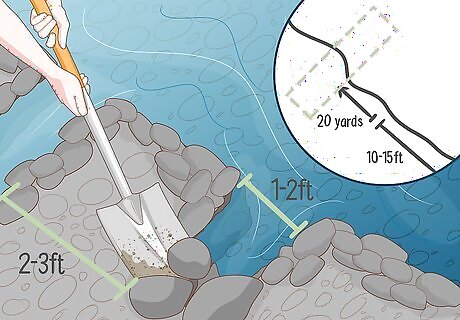
Dig one or more trenches upstream of the dam site to divert the river. Pick a point 10–20 yards (9.1–18.3 m) above the section of river you've selected for your dam. Use a shovel, drainage spade, or trenching hoe to remove the dirt or sand along the riverbank in long, straight pits roughly 1–2 ft (0.30–0.61 m) wide. If you do this correctly, your trenches will drain the water from the river's main channel, allowing you to begin constructing your dam. If you're digging multiple trenches, space them about 2–3 ft (0.61–0.91 m) apart to prevent the trapped water from draining back into the river. Angle each of your trenches away from the river in the same direction, parallel to one another. Make sure you dig your trench or trenches deep enough to carry the water away from the river without creating surface runoff. It's not necessary to empty the river completely. You just need to direct enough water out of the main channel to make it sufficiently shallow to work in.Tip: The larger the river, the more trenches you'll need to dig in order to effectively divert the flow of water.
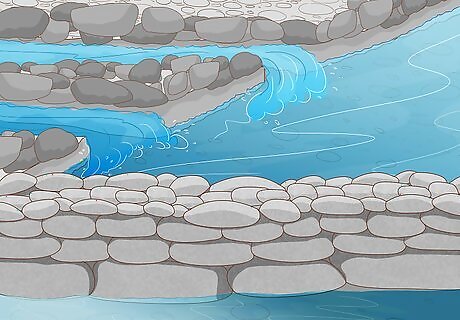
Lay rocks across the riverbed to serve as the foundation for your dam. Put the biggest, heaviest rocks down first, then stack increasingly-smaller rocks on top. Hand-pick stones of various sizes to plug any significant gaps in the stack. Flat rocks with squared edges will work best, as they offer a tighter fit and leave fewer openings than rocks with rounded edges. The foundation for your dam can be anywhere from 1-5 rocks wide, depending on its intended size.
Assembling the Main Structure
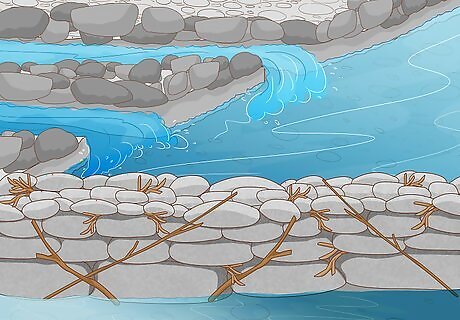
Pile on sticks until your dam reaches the desired height. Build up the main structure of your dam on both sides of your foundation. As you did when setting the rocks, place the heaviest items on the bottom to provide a sturdier base, then layer smaller pieces on top. Wedging your bottom layer of sticks under your rock foundation will keep them from being swept away once you resume the flow of water. Similarly, crossing the sticks on top (the way you would when building a fire) will increase their structural strength.
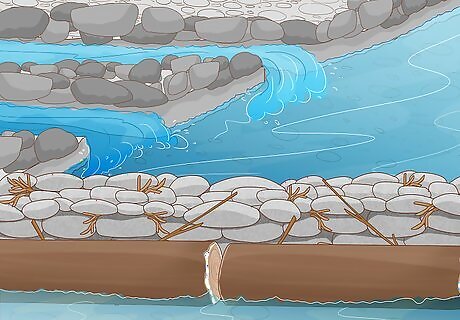
Reinforce the downstream side of your dam with logs or tree limbs. This will prevent your other materials from shifting or collapsing under the force of the water. Arrange the timber so that it completely spans both banks of the river. If possible, anchor the ends of your supports deep in the mud of the riverbed. Fallen trees can be perfect for bracing your foundation, if you can manage to transport them to the dam site. You can also use pressure-treated lumber or pieces of scrap wood for this purpose.Tip: For maximum stability, push 2 rows of logs, tree trunks, or thick branches together so that they sit flush against one another and situate a third row of materials in the crevice where the bottom rows meet.
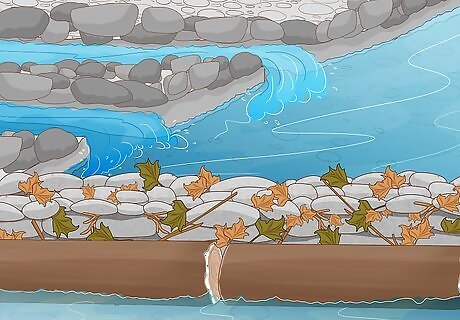
Use twigs, leaves, or mud to seal the gaps in your dam. Stuff handfuls of brush into any openings where flowing water might find its way through. Try to compact your filler material as much as possible. Ideally, you want to stem even the slightest trickle. This is often the most time-consuming part of building a dam, as there will be lots of small holes to fill. If you only want to limit the amount of water that passes through the river's main channel, feel free to skip this step.
Completing Your Dam
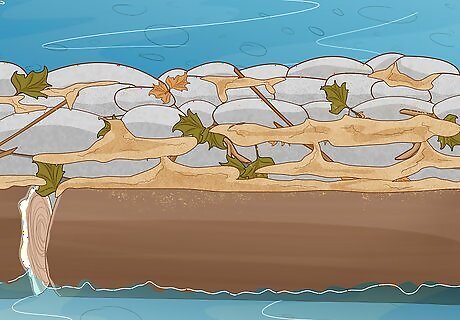
Cover the dam with mud to secure your materials. Shovel the mud onto the dam starting from the bottom and working your way towards the top. Once the entire structure is covered, pack the mud down tight using the blade of your shovel or the palms of your hand to make sure it doesn't wash away. Clay-type muds make the best covering, if they're available—they're denser and stickier than ordinary mud and bake to a hard shell under the heat of the sun.Tip: Avoid mud filled with sand, rocks, wood fragments, and similar debris. Loose materials may affect the consistency of the mud, making it harder to pack and more likely to crumble.
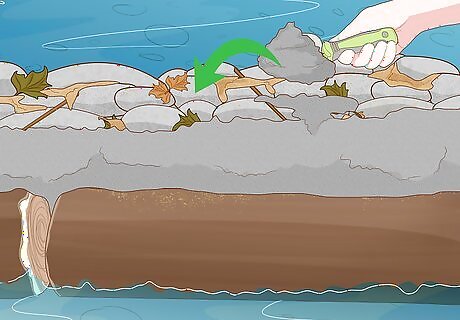
Concrete your dam to make it a permanent addition to the river. If you want your dam to block or divert water for more than a short time, you'll need longer-lasting materials than rocks and stick. Mix a bag of quick-setting concrete mix with water in a large bucket or wheelbarrow and pour the wet concrete into the cracks. Once the concrete dries, it will continue holding back the water well into the future. Allow the concrete to cure for 5-7 days before restoring the flow of water to the river. Curing takes place when concrete is given time to dry to its full hardness. You have the option of either pouring concrete immediately after putting down your foundation (if you think it's tall enough on its own) or waiting until you've got your other materials in place and cementing the entire dam.
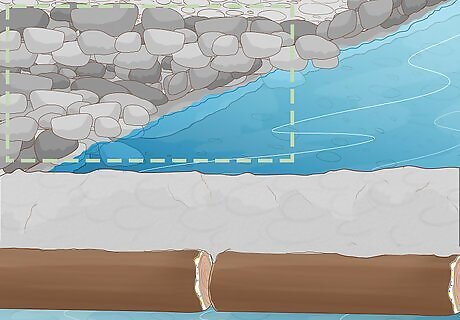
Fill the diversion trenches to redirect the water back into the river. Pile earth, stones, and other materials over the mouth of each trench to close it off. If you dug multiple trenches, wait a few minutes for the water level to stabilize behind the dam before moving onto the next. Proceed in this way until you've closed every last one. It doesn't matter which order you close the trenches in—with each one, more water will make its way back into the river's main channel until it's following its natural course once again.


Comments
0 comment