views
Reinstalling Java
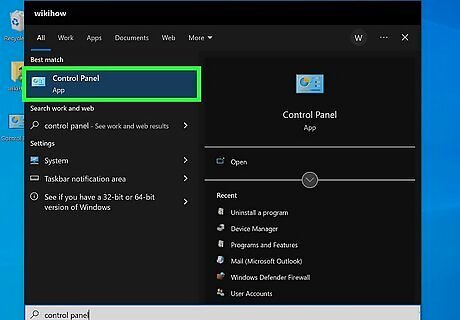
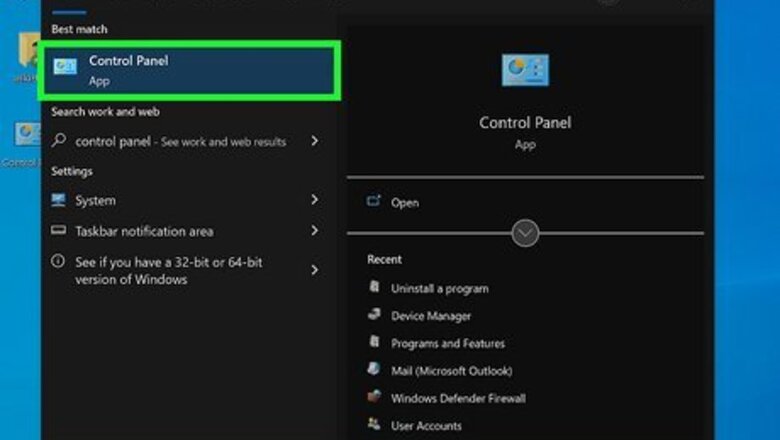
Access the Control Panel through the Start menu located at the bottom-left of your screen.
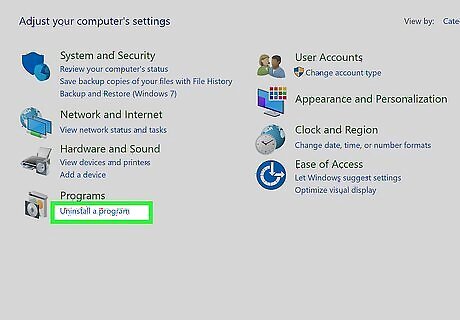
Double-click on "Add/Remove Programs."
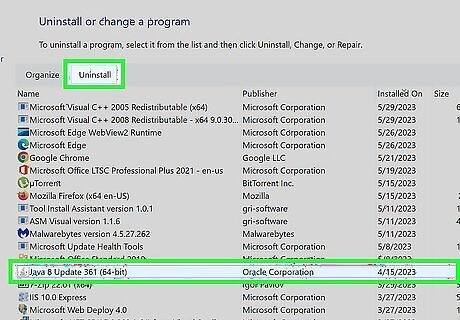
Scroll down until you find Java in the programs list. Select the Java program and press the "Remove" button to remove it from your computer. Wait for Java to be completely removed (you will see it disappear from the programs list once the process is complete).

Download the newest version of the Java software for free from the Java website. Follow the steps provided during the installation process until Java has been reinstalled successfully.
Other Methods for Repairing Java
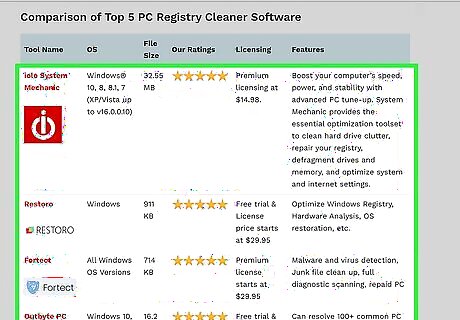
Consider using other methods to fix Java if you don't want to completely remove the version that you already have installed. There are many tools available such as Microsoft Windows Installer Cleanup Utility and Uniblue Registry Booster that can detect Java errors and repair them.
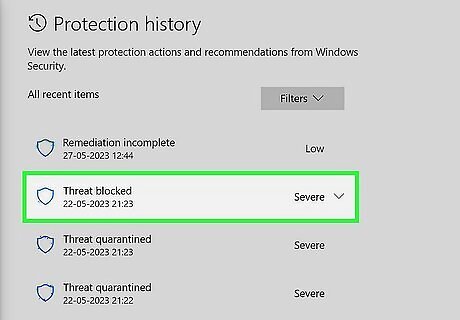
Make sure you don't have any software installed on your computer that is blocking Java from running properly. Some antivirus programs may misinterpret Java as a software that is threatening your system's security and consequently you will see a message saying that Java was not found.
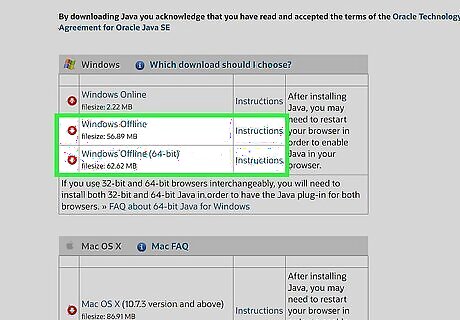
Use the correct version of Java that matches the software that you are trying to run. You will not be able to run programs that require Java if the version of Java that you have installed on your computer is incompatible with the program that you wish to open. You can try to change the settings on other programs to make them compatible with Java or upgrade or downgrade your Java version.
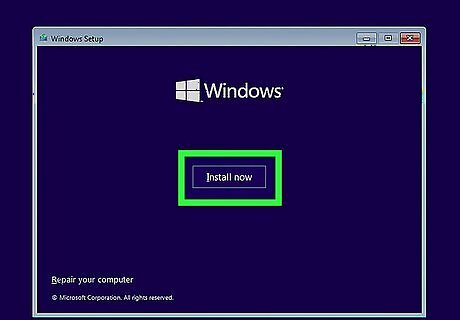
Consider reinstalling your operating system if other attempts to repair Java fail. You will have to format your hard drive, which will consequently delete all previous data stored on your computer including Java. You should then be able to install Java correctly from scratch after the operating system has been reinstalled.


Comments
0 comment