views
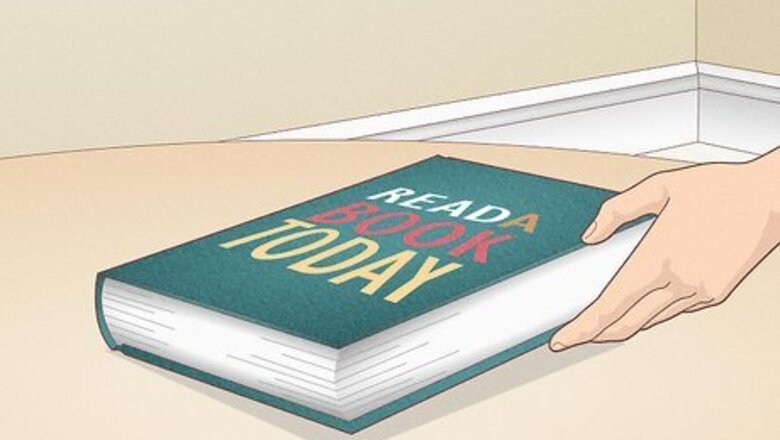
Choose an old book you don’t mind cutting up.
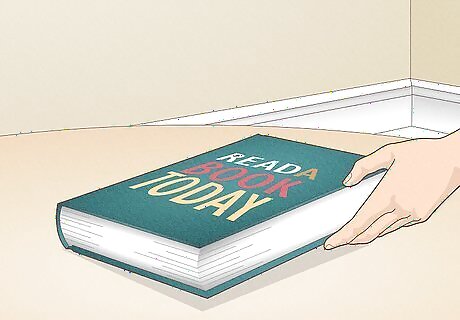
Look for a hardcover book that’s big enough to stash your treasures. Go for something about 300 pages or more thick with the right length and width to fit your secret items. Choose a book with a boring title—it’ll keep visitors from wanting to pluck it off your shelf! Scan used book stores, garage sales, or free book bins at stores and libraries to find large hardcover books for little (or no) cost. Double check your book will fit on your bookshelf or any other places you’ll want to store it. If you’re gifting your book safe to someone, choose a book with a title or cover that reflects the recipient’s personality.
Choose a starting page for your secret compartment.

Flip to a decorative or interesting page on the left side of the binding. This will be the last intact page before your compartment begins on the right. Fold these pages back to the left, then turn 1 additional page (you’ll use this to cover the messy cut lines at the end of the project). Start the compartment on page 1 if you need the space. Otherwise begin anywhere between pages 5 and 50. Leaving a few pages on top gives the illusion of being a real book to people who pick up the safe.
Wrap the front and back covers in plastic.
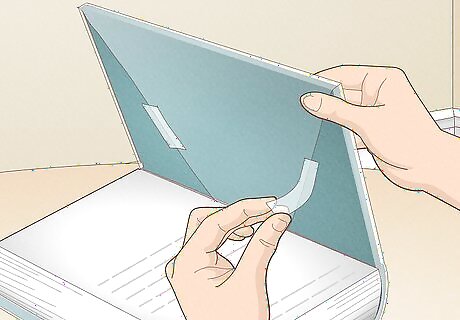
Cover both covers and the opening pages with plastic wrap or bags. This will protect them from excess glue or accidental knicks from your cutting knife. If you don’t have protective materials available, just hold the opening pages to the left with your hand.
Glue the outside edges of the pages together.
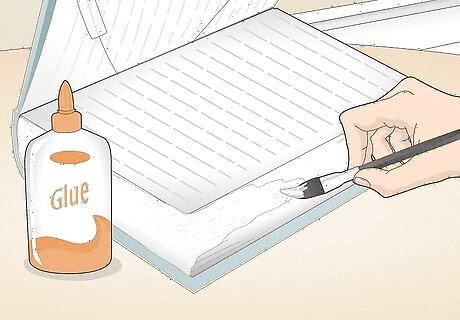
Use a paintbrush and craft glue to seal the compartment pages together. Brush only the outside edges with glue. If your glue is thick and difficult to paint on, pour some in a bowl and dilute it so it’s about 70% glue and 30% water. Add small amounts of water at a time. Too much water will make the pages pucker when the glue dries. Alternatively, use a glue that is also a sealant, like jigsaw puzzle glue or Mod Podge. They’re strong adhesives that dry clear and won’t warp the pages.
Let the pages dry for up to 24 hours.
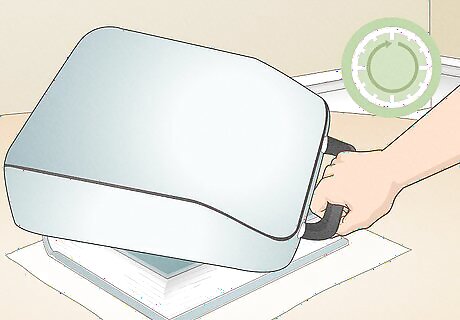
Close the book and wait for the glue to dry completely. Depending on the type of glue and humidity, it could take anywhere from 1 hour to a full day. Place a heavy object (at least 10 pounds (4.5 kg)) on top of the book to keep the pages from warping as they dry. Place the book on newspaper or wax paper in case any glue drips down the sides.
Draw the outline of your compartment.
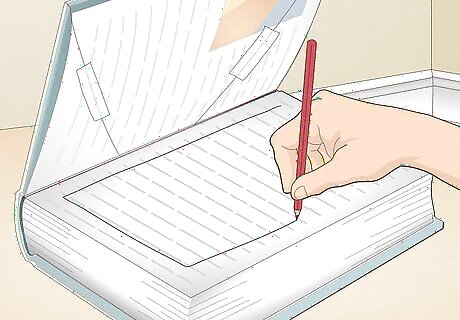
Use a pencil and straightedge to mark the outline on the top glued page. The exact dimensions depend on what you need to fit in the compartment. In most cases, aim to leave a 1 inch (2.5 cm) margin around all sides of the page. Afterward, clip or clamp the remaining pages of the book together to make cutting easier.
Cut out the compartment with a sharp knife.
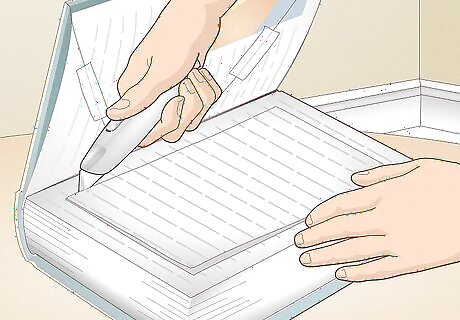
Use a utility knife to slowly cut and remove 10-20 pages at a time. Cut along your outline (it might be helpful to use your straightedge as a guide). Be extra careful and precise at the corners—switch to a straight blade for precision if needed. Stop cutting with at least 10 pages to spare before you get to the back cover. For extra sharp corners, use a drill with a medium bit to drill holes at each corner before cutting. Make sure not to drill through the back cover. If you prefer power tools, try an oscillating tool with a semicircular blade to saw along your outline. Wear safety glasses and a dust mask.
Remove the cut pages and debris from the book.
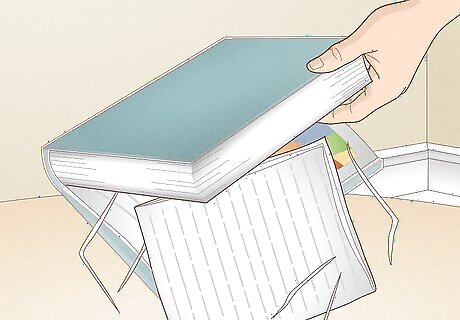
Turn the book upside down to shake out loose pages and paper scraps. You’ll probably have to do this several times throughout your page cutting. When all the pages are out, use a clean brush to remove dust and clean up the edges with a utility knife. Alternatively, use a dremel to smooth out the inside edges of your secret compartment.
Glue the inside edges of the compartment.
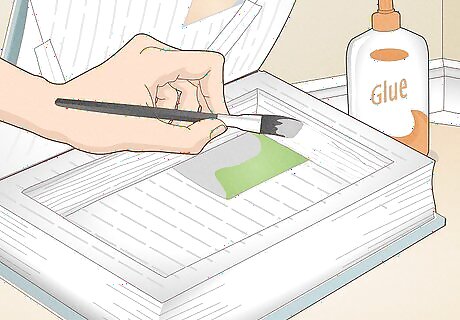
Use a paintbrush and glue to seal the inside edges of the compartment. Brush carefully, aiming to only get glue on the cut edges. Smooth out drips or runs in the glue quickly with your brush.
Glue the back cover to the compartment.
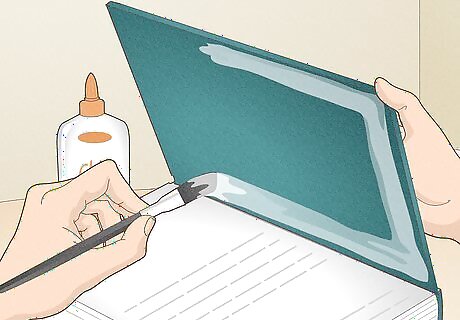
The back cover forms the base of the secret compartment. Open the book so the compartment block is to the left, then unwrap the back cover. Brush more glue onto the underside of the compartment, then close the book to stick the compartment and back cover together.
Make a clean cover page for the compartment.
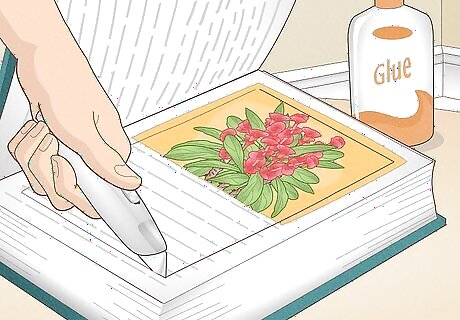
Use the extra page you wrapped in Step 2 to cover cut marks. First, remove the plastic from the front pages and cover. Glue down the additional page over the top of the compartment. Then use your knife and a straightedge to cut a clean rectangle flush with the compartment edges. The new top page will be free from extra pencil marks or scruffy edges caused by cutting multiple pages at once.
Let the inside glue dry.
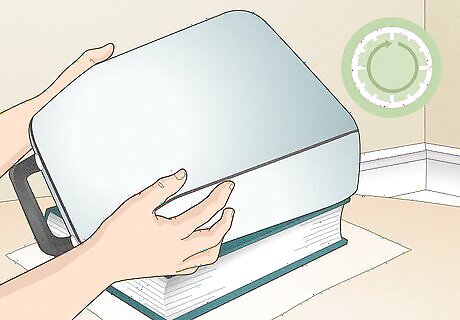
Remove the clamps and close the book for several hours to let it dry. Place your heavy object on top of the book again to hold the pages in shape. Give the outside edges another coat of glue at this point if needed.
Line the compartment with fabric to protect fragile objects.
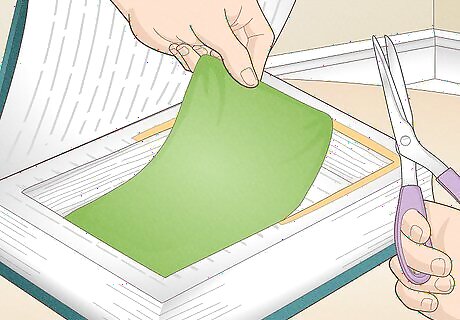
Cut fabric pieces to fit your compartment and glue them inside. Soft materials like felt or velvet are great for protecting fragile and valuable belongings, but you can use any material you like. Your safe will look great once the jagged cut edges and corners are covered. This step is optional, but may help your final product look more polished (especially if you plan on gifting your safe!).
Hide your safe on a bookshelf.

Once your safe is finished, fill it and hide it in plain sight! Place it inconspicuously between other books or among other knick knacks. Your guests will never know you’ve got a surprise hidden inside.


Comments
0 comment