views
Preparing the Bottle and Removing the Label

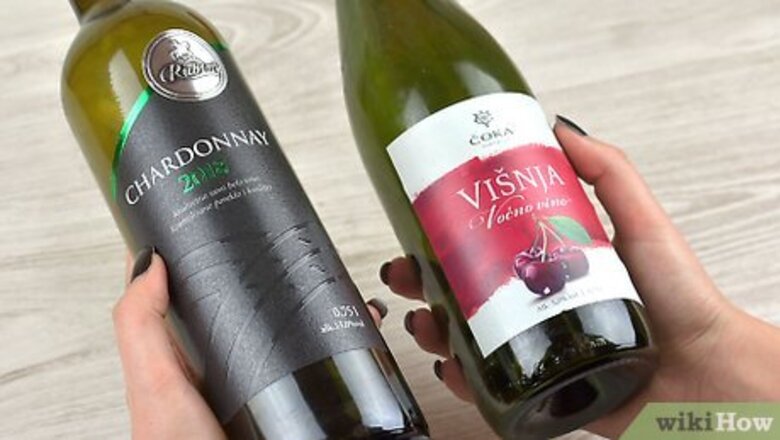
Find an empty wine bottle. If you cannot find an empty wine bottle, you can use another empty glass bottle. Keep in mind that the larger plant or flowerpot is, the larger bottle you will need. Here are some other types of glass bottles that you can use: Any sauce bottle, such as hot sauce or soy sauce. Carbonated water bottle Old-fashioned soda bottle Olive oil bottle Vinegar bottle
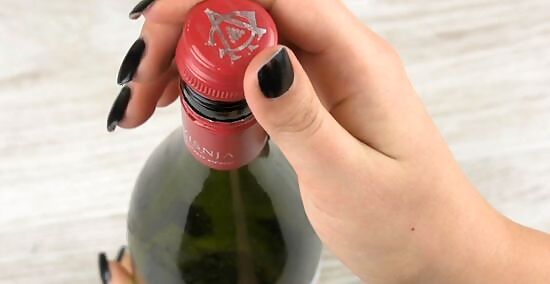
Take the cap or cork off and set it aside. You will be using this later. It your bottle does not have a cork or cap, you can still make it work. Follow the steps for removing the label from your bottle, then click here to learn how to turn it into a plant waterer.
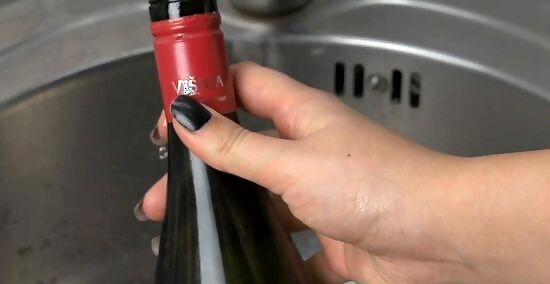
Clean the inside of the bottle. Fill the bottle with hot water and a few drops of dish soap. Close the bottle and shake it. After a few minutes, open the bottle and pour the soapy water out. Fill the bottle with water again and pour it out. Keep doing this until the water runs clean and there are no soap bubbles left.

If you want to remove the label, start by filling a sink with water. Try using your kitchen sink instead of your bathroom sink; it is more likely to have more space. If you do not have enough room in your sink, use a large plastic bin or bucket. Consider leaving the label on. Some wine bottles have interesting labels. You can leave it on your bottle for an interesting look. If you wish to remove the label, keep reading.
Add up to 1 cup (180 grams) of washing soda and stir. If you are using less water, you can use less washing soda. Stir the water with a spoon to dissolve the washing soda.
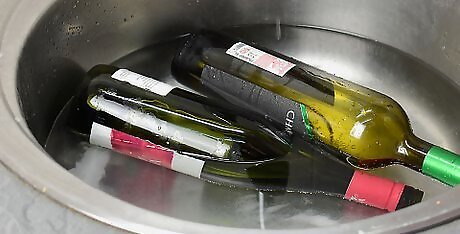
Put the bottle into the water and leave it there for 30 minutes. Hold the bottle down until it fills with water and sinks. You want it to be completely submerged. During this time, the hot water and washing soda will dissolve the glue on the label, making it easier to remove.
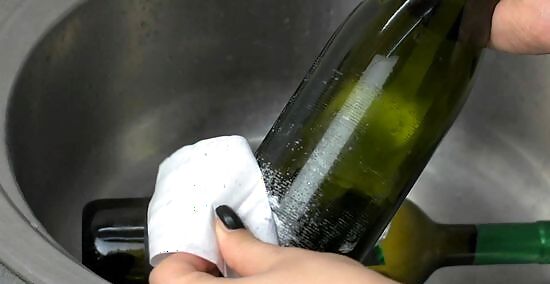
Pull the bottle out and remove the label. The label should slide off on its own. If not, you may have to pull it off. Dry the bottle off with a soft cloth once you have the label off. If there is any residue, you can clean it off using rubbing alcohol or acetone. Dampen a paper towel with rubbing alcohol or acetone, then rub the residue until there is none left.
Preparing the Cap

Consider taking the plastic or foam padding out from the bottom of the cap. This may make it easier to poke the hole into the cap. Place the tip of a flat-tipped screwdriver between the edge of the padding and the inside of the cap. Gently push down on the handle. This will cause the padding to pop out. If you don't have a screwdriver, you can use a craft knife instead.
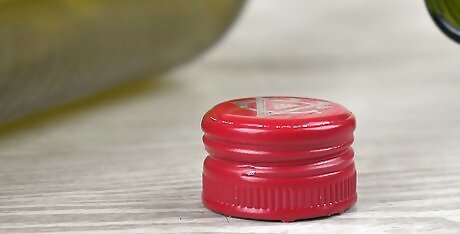
Set the cap down on a piece of wood. The top of the cap should be facing you. The bottom of the cap should be facing the wood. This will help protect your table or work surface from getting damaged if you punch the hole too deep. You can also use an old cutting board instead.
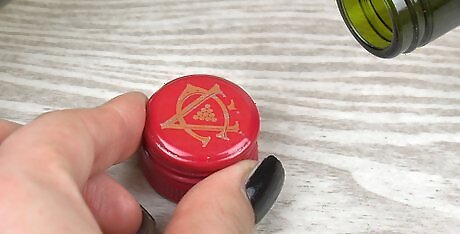
Hold the cap between your fingers. If you are worried about smashing or hurting your fingers, put on a pair of work gloves.
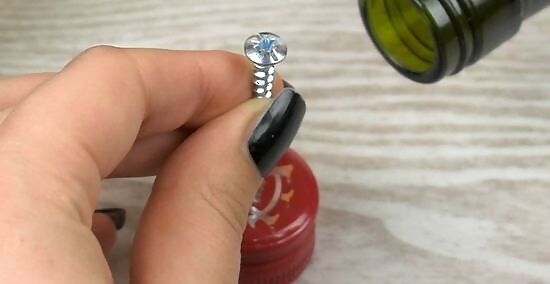
Punch a hole in the center using a hammer and nail. Take a sharp nail and position it in the center of the cap. Hold it steady between your thumb and forefinger. Hit the top of the nail with a hammer. Remove the nail when you are done.
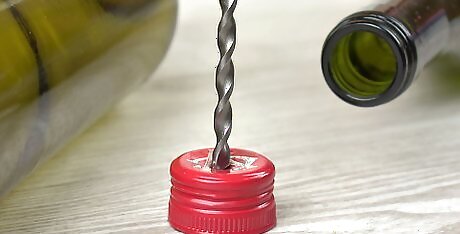
Consider using a drill instead. Keep in mind that this will be more effective on plastic caps, and less effective on metal ones. Simply hold the bottle cap between your fingers, and hold the tip of the drill against the top of the cap. Turn the drill on and push down lightly on it until the tip goes into the cap. Stop the drill and pull it out of the hole you made.

Wipe off any residue using a damp cloth. You may have little to no reside if you used a hammer and nail, but you may have some dust if you used a drill. Simply wipe the top and inside of the cap using a damp cloth. This will help prevent any clogs.
Preparing the Cork
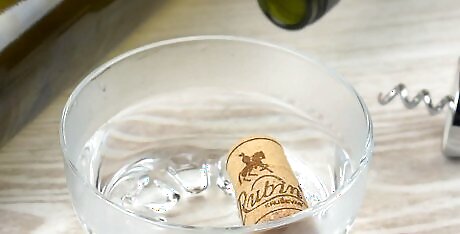
Consider soaking the cork in hot water for 10 minutes. This may help prevent the cork from crumbling when you try to make a hole in it.
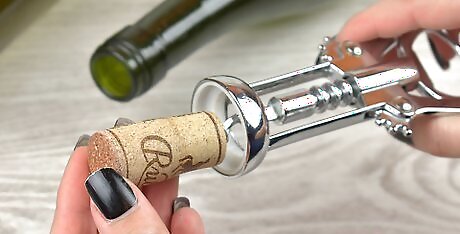
Poke a hole into the cork using a corkscrew. Place the tip of the corkscrew on the top of the cork, just how you would for when opening a wine bottle. Keep twisting the corkscrew until the metal spiral goes all the way through the cork. Twist the corkscrew in the other direction to take it out. You can put the cork into the wine bottle for this step. The neck of the bottle will help keep it steady while you work.

Consider using a long screw instead. Use a screwdriver to twist a screw into the cork. Make sure that the screw goes all the way through the cork, from top to bottom. Twist the screwdriver in the opposite direction to take the screw out.
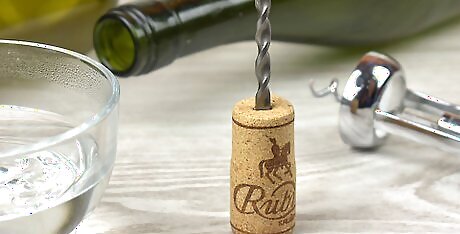
Try using a drill. Place the cork down on a piece of wood and hold it steady between your thumb and forefinger. Place the tip of a drill against the top of the cork and turn the drill on. Gently press down on the drill until the tip goes all the way through the cork. Turn the drill off and pull it out of the cork when you are done.
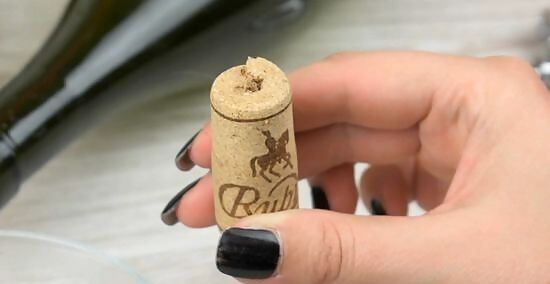
Remove any dust from inside the hole. You can do this by gently blowing into the hole. You can also place the cork under running water, and let the water flow through the hole. This will help prevent any clogs later on.
Preparing a Bottle with No Cap or Cork

Cut a circle out of fabric. Use the base of the bottle to trace a circle onto some fabric. You will be attaching this to the bottle opening to prevent clogging. You can also use wire mesh instead of fabric. Try using a thin fabric, such as cotton. Thick fabric, such as linen or canvas will be too thick and won't let the water pass through.

Fill the bottle with cool water. You can also add some plant food into the water at this point. Do not fill the bottle all the way; fill it up just to where it starts to narrow.
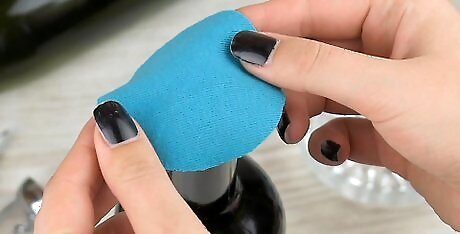
Place the fabric over the top of the bottle. Make sure that the circle is centered over the mouth of the bottle.

Fold the edges down and secure them. Press the edges of the fabric circle down against the neck of the bottle. Tie a piece of string around the neck and fabric, just below the lip. If you do not have string, use a rubber band or twist tie. When the bottle becomes empty and you need to refill it, simply pull the string and fabric off. Refill the bottle, then put the fabric and string back on.

Consider getting a terra cotta or plastic plant stake instead. They are shaped like cones, and are made for wine bottle plant waterers. You can find them in nurseries or in the garden section of a home improvement store. Stick the stake into the soil, and place the wine bottle down into it. You do not need to keep the original cork or cap. You also won't need any fabric or mesh. You may also find these plant stakes labeled as "Wine Bottle Plant Nanny Watering Stakes."
Putting Everything Together

Pour water inside the bottle and put on the cap or cork. Do not fill the bottle all the way. Instead, fill it up to just where the neck begins to narrow. You can also add some plant food into the bottle at this point.

Select your plant. If you have a very large plant, such as a tree, you may need to make a second bottle.

Make sure that the soil is wet. If the soil is too dry, the water in your bottle will empty too quickly.
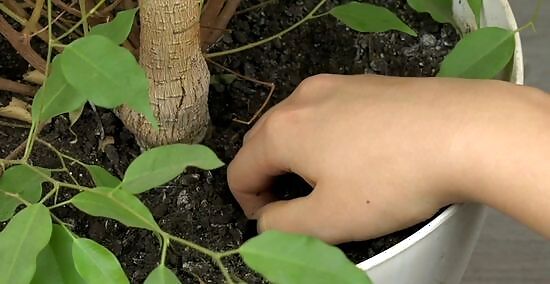
Make a 2 inch (5.08 centimeters) deep hole in the soil where you want the bottle to go. If you don't make the hole first, the bottle may break. The soil may also get forced into the bottle opening and create a clog. If you are going to use the bottle in a flowerpot, make the hole close to the edge of the pot. Try to make the hole at an angle, with the bottom pointing away from the pot's rim. This will allow you to insert the bottle at an angle, and rest the bottle against the edge of the pot. If the bottle's neck is shorter than 2 inches (5.08 centimeters), make a shallower hole.
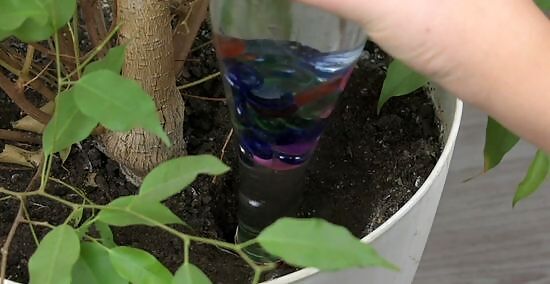
Turn the bottle upside down and insert it into the hole. Keep pushing the bottle until it won't go in any further. The mouth of the bottle should be pressed firmly against the soil. Consider wearing work gloves for this step, in case the bottle breaks.
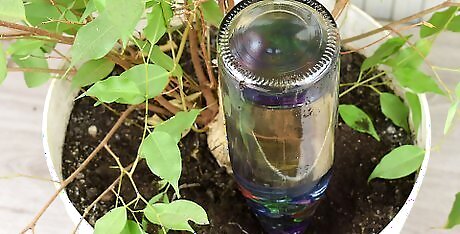
Look at the bottle and watch for any issues. If there are any bubbles or the water level is changing, take the bottle out and try again. This happens when the bottle mouth didn't seal against the soil.
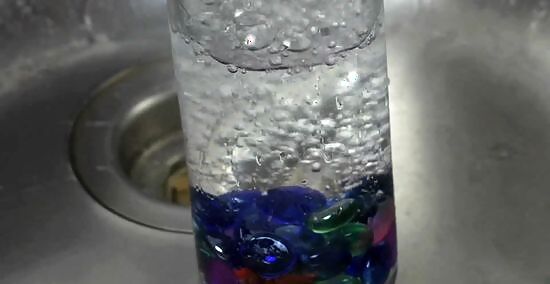
Refill the wine bottle when it is empty. This bottle is ideal for the forgetful gardener, or if you are going away on vacation.
Decorating the Bottle
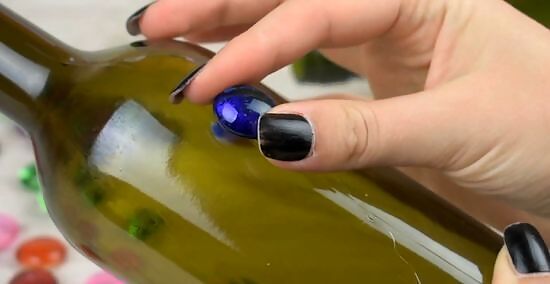
Give the bottle some color by gluing on flat-back marbles. You can find these vase fillers in most arts and crafts stores. You can also find them in the fish department of a pet store. Spread a thin layer of glass adhesive, such as E6000 or Weldbond onto the bottle, and stick the marbles on. Work in small patches, from the base of the bottle to the top. Leave the neck uncovered. Wait at least 24 hours for the glue to cure. If the marbles keep sliding off, try holding them in place with some masking tape. Simply place a piece of masking tape over the marbles. Stick both ends of the tape to the sides of the bottle. Consider using other items, such as gemstones or sea shells.
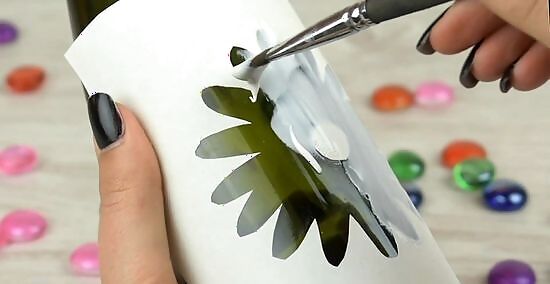
Use glass etching cream to create designs. Stick an adhesive stencil onto the bottle. Brush on a thick layer of glass etching cream; you can find it in the glass and mosaic section of an arts and crafts store. Wait 15 minutes, or the amount of time recommended on the label, then wash it off. When you are done, pull the stencil off. To create the designs, you can use adhesive glass stencils. You can also use letter stickers. The area around the stickers will be frosted. The area covered by the stickers will be clear.
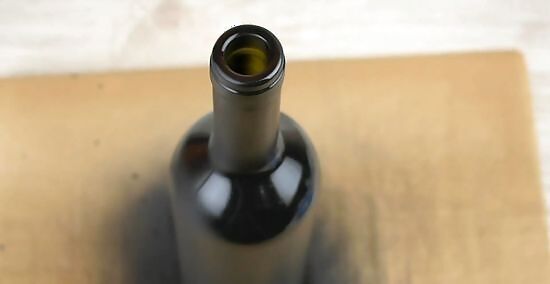
Paint the bottle with chalkboard paint. Buff the bottle with fine-grained sandpaper, and wipe it clean with some rubbing alcohol. Shake a can of chalkboard spray paint until you can hear it rattling. Hold the can 6 to 8 inches (15.24 to 20.32 centimeters) away from the surface of the bottle, and apply a light, even coat of paint. Wait for the paint to dry before applying a second coat. Let the paint cure for at least 24 hours before priming it. To prime the chalkboard paint, rub a piece of chalk over the entire surface, then wipe it off. Because you won't be able to see inside the bottle, consider writing down the last time you filled it right onto the chalkboard surface.
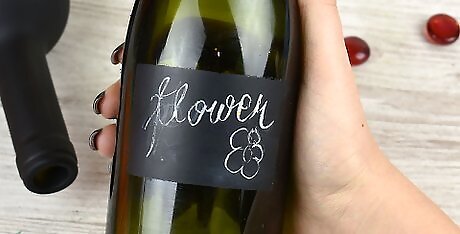
Use bottled chalkboard paint to make a label. Make a square or rectangle on the bottle with masking tape. Paint over the square using chalkboard paint and a paintbrush. Let the paint dry before applying more layers. Once you are done painting, pull off the masking tape and allow the paint to cure completely. Prime the paint by covering it with a piece of chalk, then wiping the chalk off. Write down the name of the plant or herb on the label. The bottle will double as a plant marker.
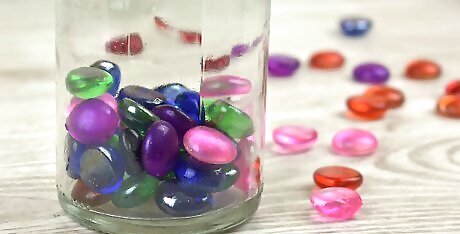
Fill the bottle part-way with decorative marbles. Use flat-backed marbles instead of round ones, as they are less likely to fall out of the bottle. They will not only add color to the bottle, but also help regulate the water flow.


Comments
0 comment