
Downloading with Takeout

Open https://takeout.google.com in your internet browser. This page allows you to extract and download an archive of all your backed-up photos. While this method ensures that you also download photos in albums as well as a library of photos, it can take a long time if you have a lot of photos or a poor internet connection. You'll also need enough space on your hard drive to download all of your photos. You can use the Google Photos website instead to make an export of all your photos. All you have to do is click the gear icon in the top right corner of Google Photos, then scroll down and click Export your data to expand it. Click Backup to prepare a file to export to your computer or another cloud storage service.

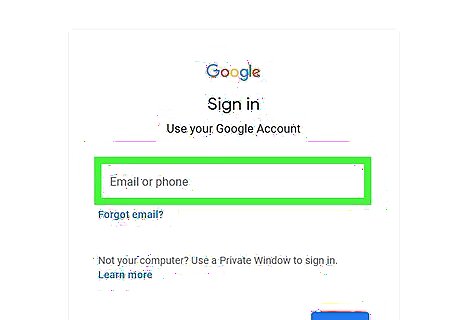
Sign in with your Google Photos account. Use your email address or phone number and your password, and sign in to the account your photo backups are saved.
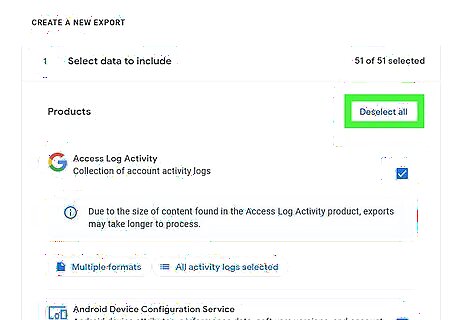
Click or tap Deselect all at the top of the "Products" list. This is a blue button in the upper-right corner of the data type list. It will deselect all the options so you can easily download only pictures in Google Photos.
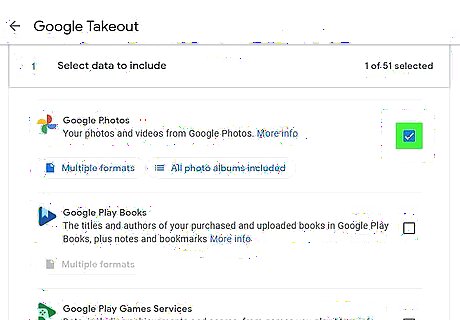
Click and check the Windows Unchecked box next to "Google Photos." Find the Google Photos option on the data list, and make sure the box next to it is checked.
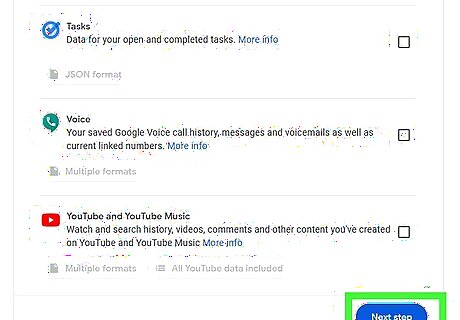
Click the Next step button at the bottom. This is a blue button at the bottom of the product list.
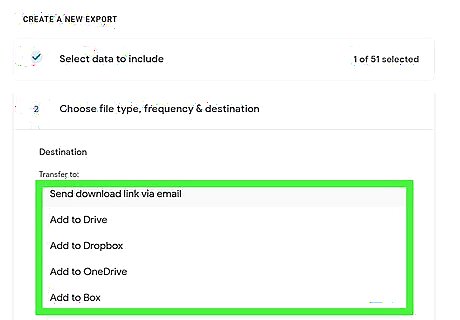
Select a delivery method for your photo archive. Click the drop-down menu under the "Delivery method" heading, and select how you want to receive your photos. You can get a link sent to your email address and download it to your local storage. Alternatively, you can automatically get the pictures uploaded to Drive, Dropbox, OneDrive, or Box Cloud. Optionally, you can play with some other settings here to schedule automatic archive downloads, change the compression file type to TGZ, or change the maximum file size for each archival package.

Click the Create export button. This is a blue button in the lower-right corner that changes according to the delivery method you choose. For example, if you have Add to OneDrive selected, you'll see "Link accounts and create export." This will create a compressed archive file of all your backed-up photos, and send your mailbox a direct link for download.

Click the Download button. When your archive is ready for download, it'll show up on your available archives list on this page. Click this button to download the package. This will download a ZIP file to your computer. If you're prompted, select a saving location. Alternatively, click the download link from your mailbox. You'll receive an automated email with a download link when your archive is ready.

Open the downloaded ZIP file on your computer. You can find all your backed-up pictures and albums in the Google Photos folder here.

Upload the images to https://photos.google.com/. Sign in with the other account and upload the photos so that account will have the photos and albums from the original account! Note that any new pictures from the original account will not automatically transfer to the second account.
Using Partner Sharing
Go to https://photos.google.com/ and sign in. You can also use the mobile app on Android, iPhone, and iPad to set up partner sharing without a computer. This method ensures that all the photos from the original account are shared with a second Google account. However, Partner Sharing does not transfer albums. The second account will only see all photos in a photo library instead of photos organized in albums. In this case, you'll need to re-create albums.
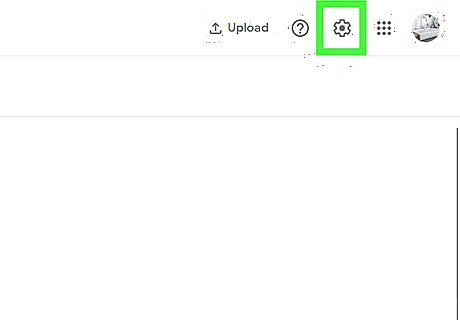
Click Android 7 Settings. This gear icon is at the top of the page. If you're using the mobile app, tap the Share icon instead. It's at the top or bottom of the Google Photos screen.
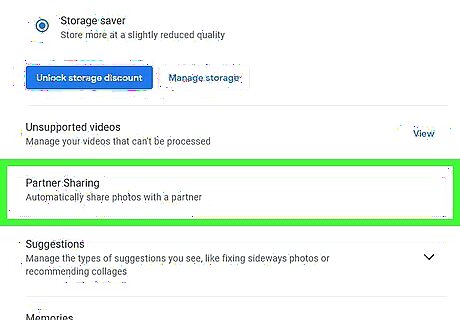
Click Partner Sharing. It's near the top of the menu.
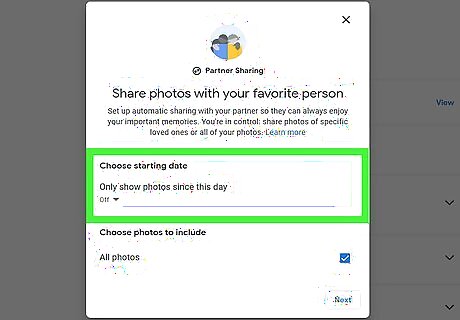
Choose your sharing settings. Under "Choose starting date," select the date that you want to start sharing from. For example, if you want to only share photos from October 31, 2020 and onward, enter "2020 10 31 12:00 AM" and press Select. Fill the circle for which photos you want to include. You can choose to share "All Photos" or "Photos of certain people." Click Next to continue.
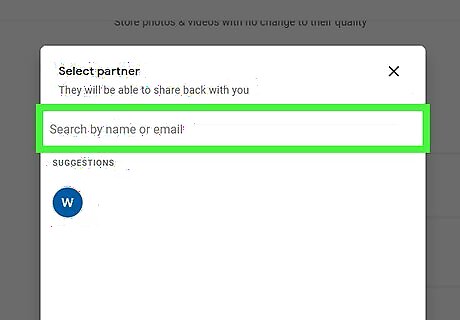
Enter a Gmail email and click Next. You can search your Google contacts or you can enter their Gmail address.
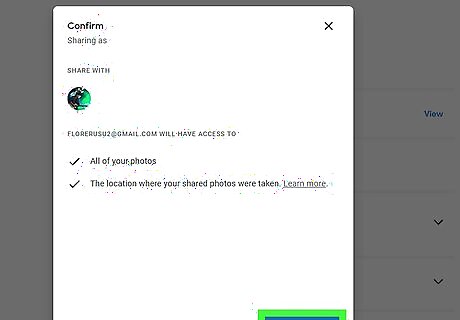
Click Send invitation. It's in the bottom right corner. The window repeats what you're sharing with that other account.
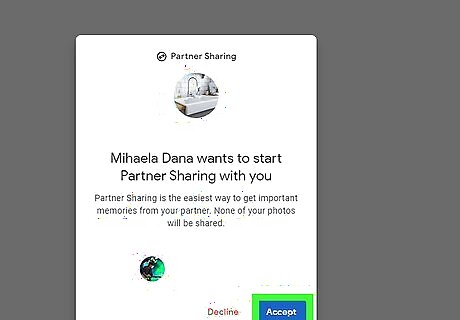
Accept the invite on the other account. Once you log into https://photos.google.com/ or open the mobile app with the second account, you will see a notification badge next to "Sharing." Click the notification and select View invite > Accept. Decide if the second account should be shared back to the original account, but since your goal is to transfer photos from the original account, select Not now.
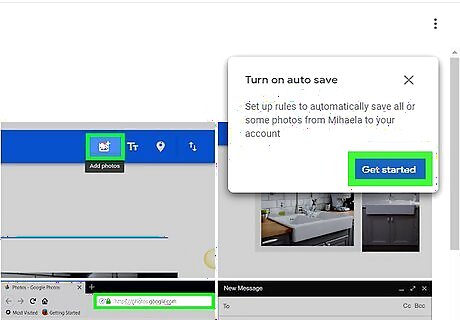
Click Turn on Auto Save. It's at the top of your page.

Select Save all photos. This will ensure that the second account saves all the photos shared from the original account. That way, the original account can edit or delete the photos and the original photos will still be available for the second account to see. Click Done to continue.
Sharing Albums

Go to http://photos.google.com/ and log in. You can also use the mobile app on Android, iPhone, and iPad to share albums. Using this method alone may be time-consuming if you have a lot of albums. You can instead use Partner Sharing to initially share all your photos, then share albums to sort your photos into albums. Although you're sharing photos multiple times, duplicate images will not be saved to your Google Photos. Sharing albums will not share photos that are not in albums.
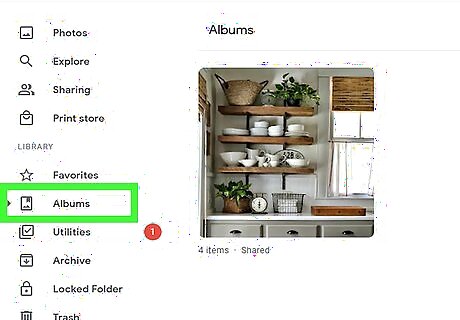
Go to an album you want to share. Using the Album drop-down on the left side of the page, select an album to view or click View all albums.

Click Android Share. You'll see this "Share" icon in the top right corner of your browser window.
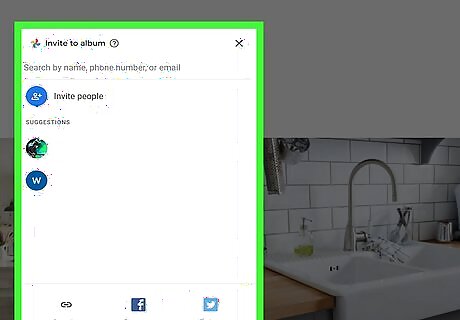
Select a method to share. You can share via their Google account, a link, or social media. The other account simply needs to go to the "Sharing" section of their Google Photos app or in a web browser to see the shared album. Click the "Download" icon to download the images so that account sees the photos organized in an album, regardless of editing or deleting actions the original account performs. Repeat this process so all the photo albums from the original account are shared with the second account.


Comments
0 comment