
Downloading SecureAccess to Your USB Drive
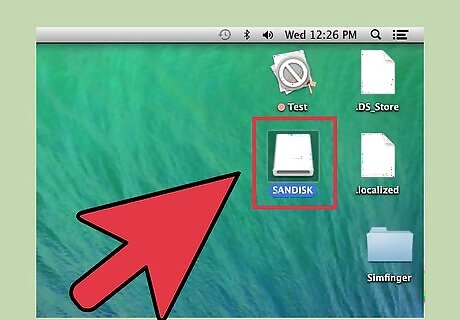
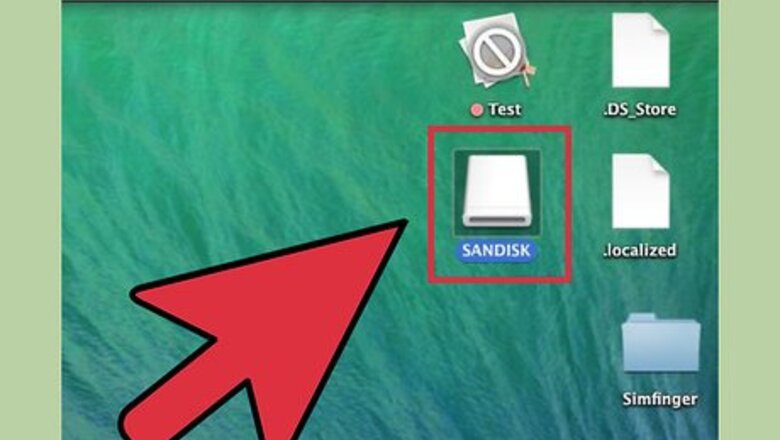
Connect the Sandisk USB flash drive to your Mac. Just plug it into an available USB port.
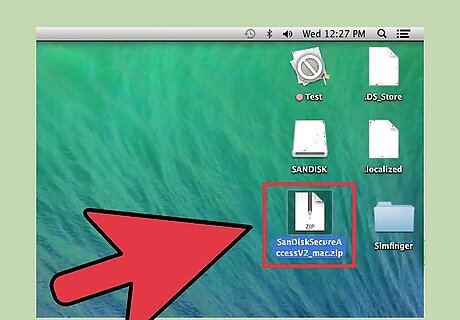
Download SecureAccess. Open a web browser, and get the setup file from http://downloads.sandisk.com/downloads/SanDiskSecureAccessV2_mac.zip. The file will download automatically.

Move SecureAccess to the USB drive. Copy (⌘ Cmd+C) the setup file and paste (⌘ Cmd+V) it directly to your SanDisk USB flash drive. The file name is “SanDiskSecureAccessV2_mac_5.4.16.pkg.”
Setting Up the Vault

Install SecureAccess. Access your USB drive and double-click on the setup file to install it. Follow the on-screen instructions to complete the installation.
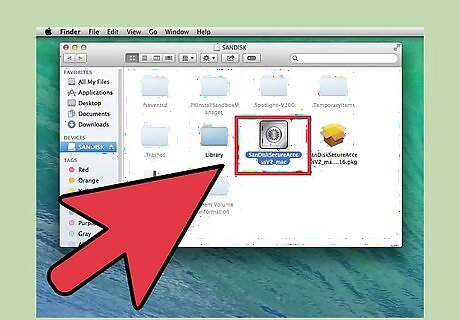
Run SecureAccess. Open your USB drive. The program should already be installed. Double-click on the program file “SanDiskSecureAccessV2_mac” to run it.
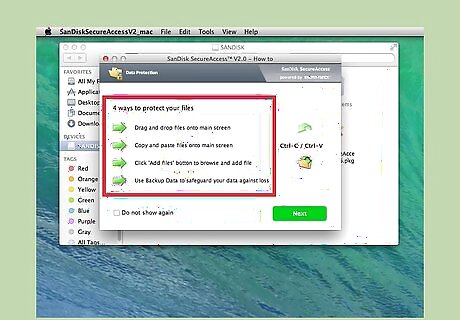
Know how to protect files. Before you begin using the program, you will be shown 4 ways to protect your files. These are the different ways in which you can add files to your vault. Read and understand these (refer to Part 3 for more details). Click the “Next” button to continue.

Create a password. You will be asked to create your password for the secured folder called vault. Key in your password. Take note of tickboxes under “Password Recommendations” to help you create a strong password. The Password Strength is also displayed for your information. Click the “OK” button to proceed.

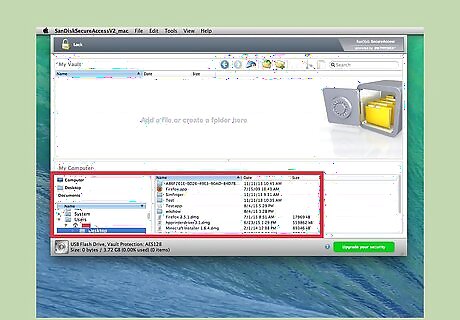
View My Vault. After setting up your vault, you will be brought to the main screen of the program. The vault folder is located on the upper half of the screen, and the lower half is your Mac’s file directory. Your vault is now ready.
Adding Files to the Vault
Select files. Use your Mac’s file directory to select the files you want to copy or move to the vault.

Add files. Copy or move the files to the vault. Drag and drop. Select the files from your Mac and drag and drop them in to the vault. The files will be copied to the vault. Copy and paste. Select the files from your Mac and copy them. Go to the vault and paste the copied files there. Use the Add Files button. Click the button with the folder icon with an arrow going inside from the header toolbar. This is the “Add Files” command. A window will open with your file directory. Navigate through the folders and select the files you want added to the vault.
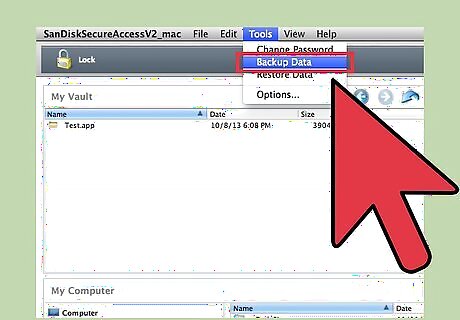
Back up the data. You can also use the program to back up your data inside the vault. Click “Tools” from the menu bar and select “Backup Data.” Click on the “Backup Now” button to confirm. A backup of your vault data will be created. You can only have one backup file at a time.
Locking and Unlocking the Vault
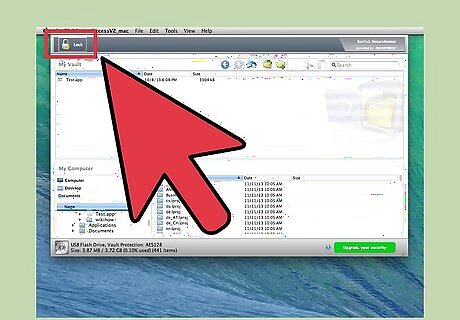
Lock the vault. When you’re done adding files to the vault, you have to lock it to protect it. Click the “Lock” button on the header. It’s beside the padlock icon on the upper left corner.
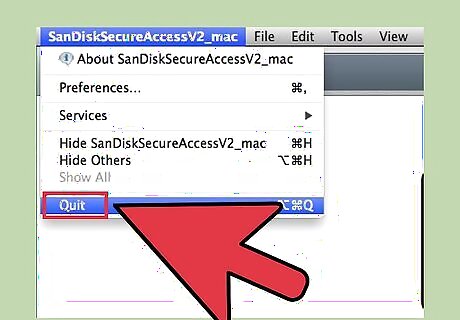
Exit the program. Click the red button on the upper left corner to close and exit the program.
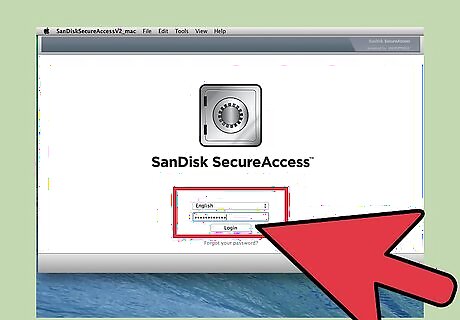
Unlock the vault. When you want to go back to your vault to access your files, double-click on the SecureAccess program file inside the USB drive. SecureAccess will launch. Since the vault is password-protected, you have to login first. Enter your password and click the “Log in” button. You will be brought to the main screen of the program where you can view and manage your files.


Comments
0 comment