
- Apply wood stain stripper with a bristle brush and let it sit for 15-20 minutes.
- Scrape off the stain stripper with a plastic scraper or putty knife so you don't damage the wood.
- Use 000 steel wool to remove any leftover stripper.
- Sand the wood with both medium- and fine-grit sandpaper to remove the last of the stain and smooth the wood surface.
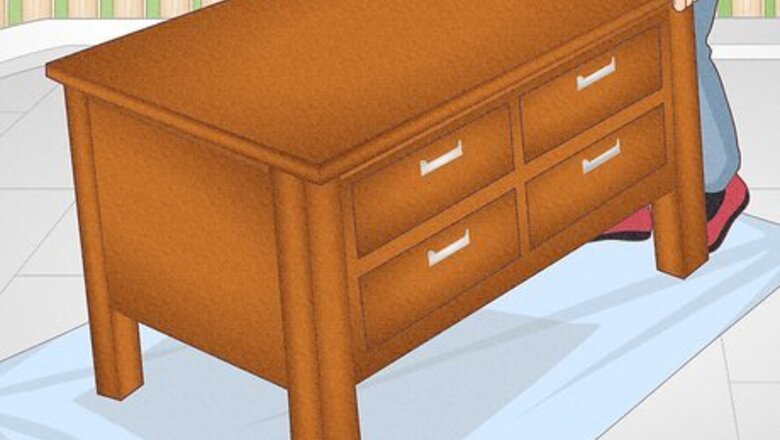
Prep your workspace in a well-ventilated area.
Good ventilation protects you from breathing in any unpleasant fumes. Open a window if you’re working indoors, or find an outdoor space to work if your project allows it. Place a drop cloth beneath any wooden fixtures or pieces of furniture that you plan on removing the stain from. Slip on a respirator mask and a pair of rubber gloves so you don’t directly touch or breathe in the wood stain stripper.
Wipe down the stained surface.
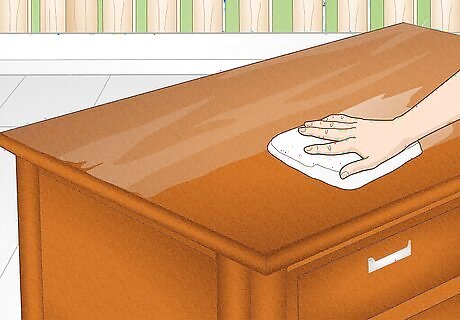
Make sure the surface is clean before using any stripper. Dip a clean cloth in a bucket of sudsy water and wring it out so it’s not dripping wet. Then, wipe down the wood surface to get rid of any lingering dirt, grime or oil. Dry everything off with a clean cloth or microfiber towel once you’re done. The wood stain stripper won’t work as well if the wood is dirty. To be safe, wipe a small part of the wood with sudsy water first to make sure that it doesn’t damage the material.
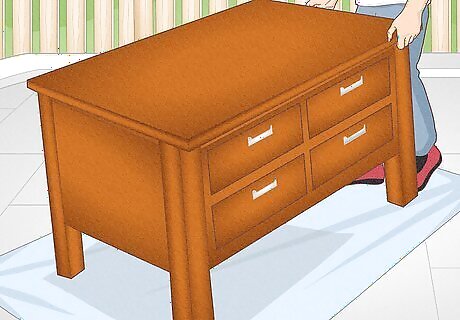
Remove any hardware from the wood.
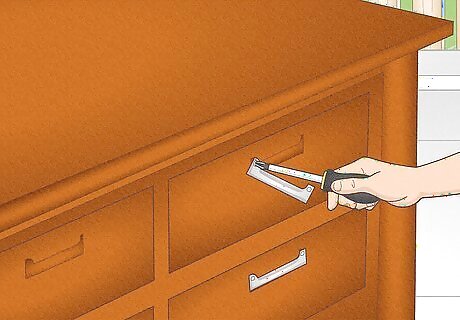
Give yourself a clear and open wooden surface to work with. Unscrew any hinges, handles, or other hardware attached to the wood’s surface. This allows you to strip the stain from every inch of the wood—including the parts that are normally covered up. Skip this step if you don’t have anything to remove.
Apply the stripper with a bristle paintbrush.
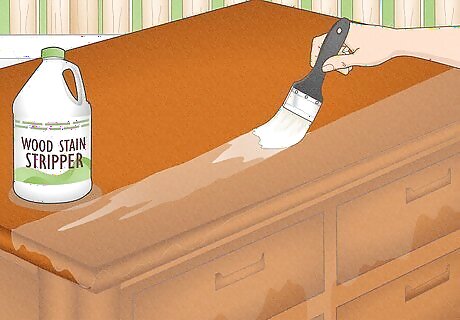
Spread the wood stain stripper in a thick, even coat over the stained wood. Dip the paintbrush in the container of stain stripper so it’s fully soaked. Then, apply the product evenly over the surface. Always work in small sections so the project is easier to manage.
Wait 15-20 minutes.
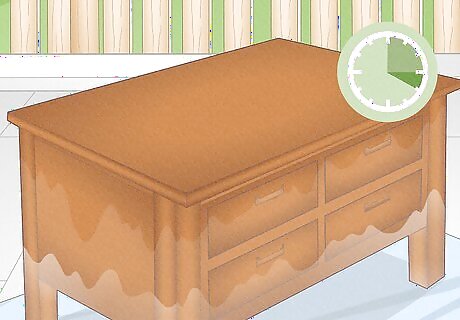
Give the stain stripper a chance to work into the stain. It takes about 15-20 minutes for it to start eating away at the stain, so it might help to set a timer as you wait. The surface starts to blister and peel as the stripper eats through the stain, so keep a watchful eye as you wait.
Scrape off the stripper and stain.
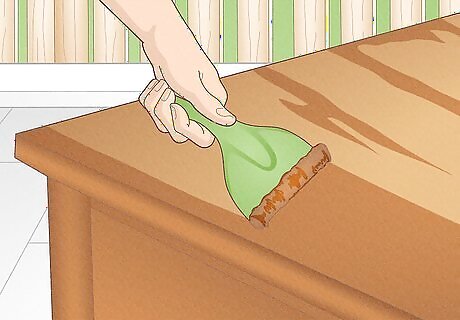
Use a plastic putty knife to safely remove the residue. Hold the tool at a 45-degree angle from the wood and scrape with a consistent amount of pressure, moving with the grain of the wood as you go. Catch the sludge in a glass or metal container that the stripper can’t eat through. Don't use a plastic container—the stripper will melt through it. Always use a plastic scraping tool so you don’t risk damaging the wood.
Apply more stripper if there’s leftover stain.
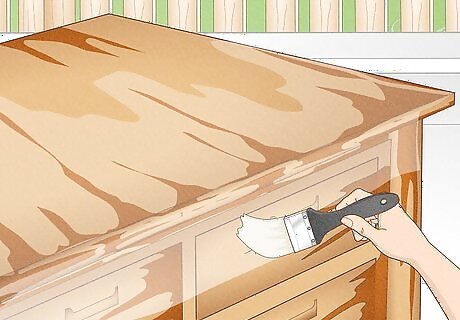
It might take multiple rounds of stripper to remove most of the stain. Spread another layer of stain stripper onto the wood, keeping the product even as you apply it. Let it sit for another 15-20 minutes before scraping it off again.
Brush off any leftover stripper with steel wool.
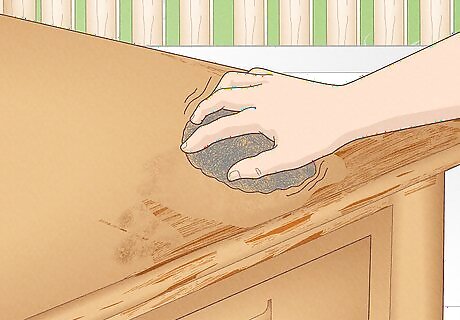
A section of grade #000 steel wool works well for this. Rub the wool in straight, consistent lines that follow the wood’s grain—this should clear away most of the remaining residue. Switch out your steel wool with a clean piece if it starts to get clogged with leftover stripper. To be extra thorough, wipe down the wood with a clean cloth to clear away any lingering stripper.
Let the wood dry.
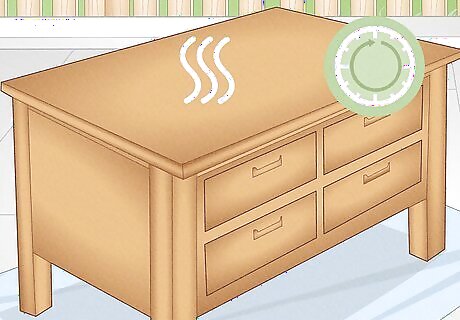
Give the wood at least 1 hour to dry off before you continue. Feel free to wait a full 24 hours if you’re not in a rush.
Sand the surface with 120-grit sandpaper.
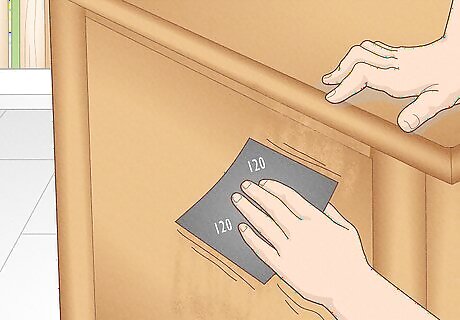
Medium-grit sandpaper helps clear away any leftover stain. Guide the sandpaper in straight, forward strokes, following the grain as you go. The medium-grit texture helps clear away any leftover stain following the stripper. Wipe away the sawdust with a tack cloth when you’re done.
Go over the surface with 200-grit sandpaper.
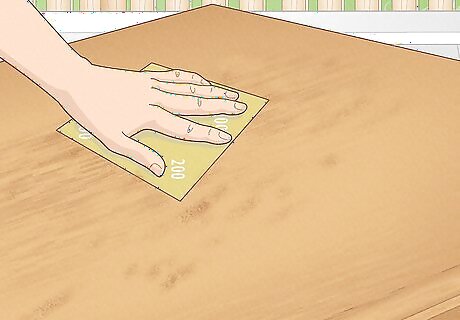
Finer-grit sandpaper helps smooth any rough spots. Keep sanding along the grain, working in forward motions to even out the surface. Focus on any spots that feel especially rough or uneven after your first round of sanding. Don’t rush the sanding process—a few extra minutes of sanding could make all the difference!
Clean the wood with denatured alcohol.
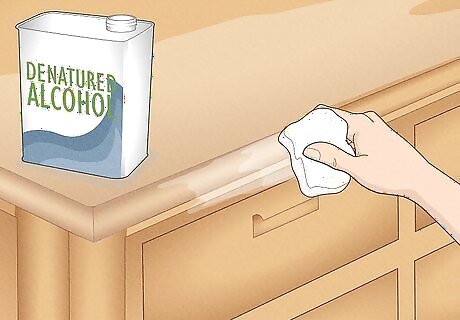
A good wipe-down gets rid of any leftover sawdust and residue. Dip a clean cloth in a little bit of denatured alcohol and wipe down the entire surface, clearing away any leftover sawdust and other residue as you go. Your wooden flooring or furniture is now completely stripped and ready to be re-stained or painted! Vacuum up any surrounding sawdust once you’re finished cleaning the wood.


Comments
0 comment