views
X
Research source
. While this is great for web browsing, it's not always ideal if you're trying to use that image for something else. Many photo editors and other programs don't know how to read WEBP files yet. In this article, we'll teach you 8 ways you can save a WEBP file as a JPG (or JPEG) so you can use those images in other projects.
- Paint on Windows and Preview on Mac can both open WEBP files, and from there you can save those files as JPGs.
- If you copy the image or screenshot it, you can open that image in any editor of your choice and save it as a JPG.
- You can use a desktop or website-based converter to convert WEBP into JPG easily, which is a good choice if you have multiple images to convert.
Copying and Pasting
Find a WEBP image you want to save. The simplest way to save a WEBP image as a JPG is to copy and paste it directly from the web. This also allows you to directly import the image to the photo editor of your choice.
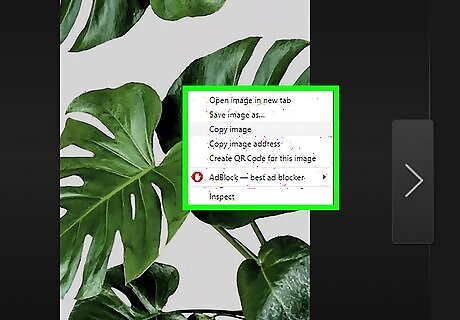
Right-click the WEBP image. If you're on a Mac, hold down the Ctrl key while clicking to right-click.
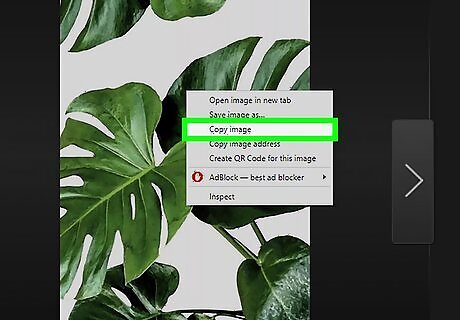
Select Copy Image. This will copy the image to your clipboard.
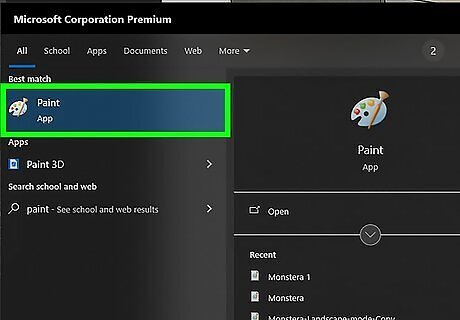
Open a photo editor of your choice. You can use Paint on Windows or Preview on Mac, or any other photo editor you've downloaded such as Photoshop, Lightroom, Canva, GIMP, or others.
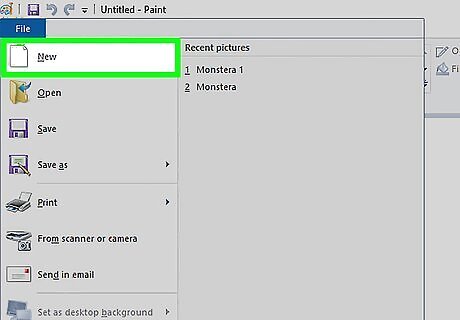
Create a new file. Each program will behave a bit differently, but most of the time you can click File > New to make a new file. Paint will automatically open with a blank file, so you don't need to make a new one. If you're using Preview, click the Preview menu item in the top left, then select File > New from Clipboard.
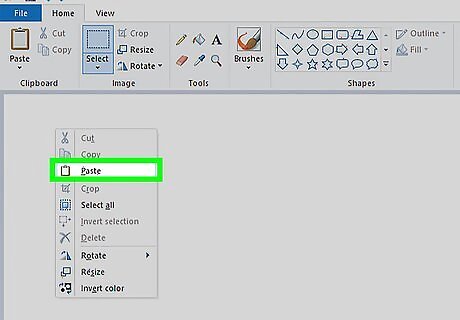
Paste the image into the new file. Each program will work a bit differently, but you can usually find Paste under Edit > Paste. You can also simply use the keystroke Ctrl+V to paste on Windows or ⌘ Cmd+V on Mac. If you're using Preview and you pasted from your clipboard, you can skip this step.
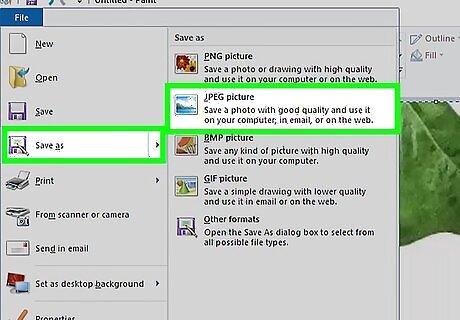
Save the image as a JPG. Each program will work a bit differently, but you can usually find options to save under File. Select Save as and save your image as a JPG.
Saving in Paint (Windows)
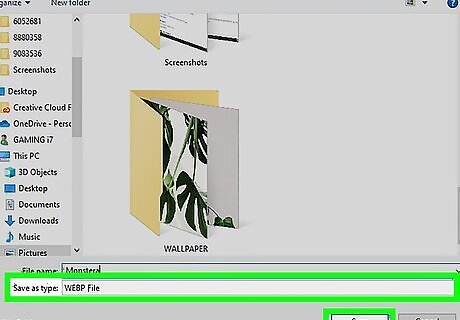
Download a WEBP image. Right-click the image and select Save image (though different browsers may have slightly different wording). If you're on Windows, you can download a WEBP image and open it in Paint to save it as a different file type, including JPG.
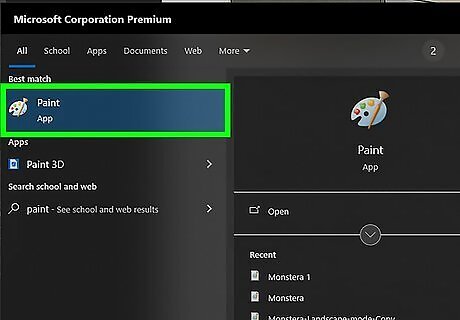
Open Paint. Go to the search bar on your taskbar and type "Paint". Click on the Paint app to open it.
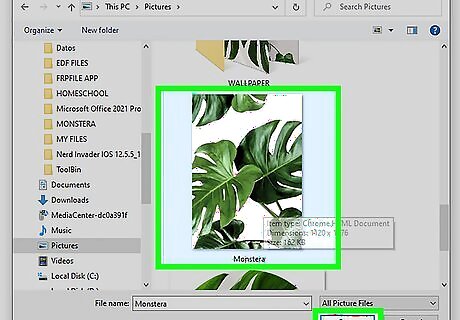
Open the WEBP image. Click File > Open and navigate to where you saved your WEBP image. The default location will be your Downloads folder. After clicking on the image and selecting Open it will open up in Paint.
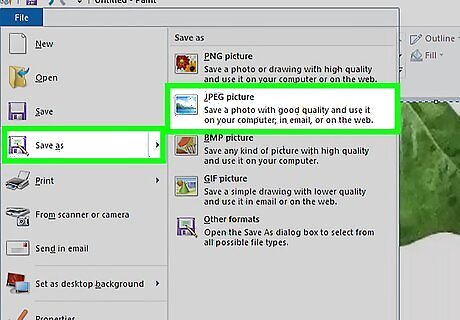
Click File and then Save as. You can rename the image file if you like and change the file save destination.
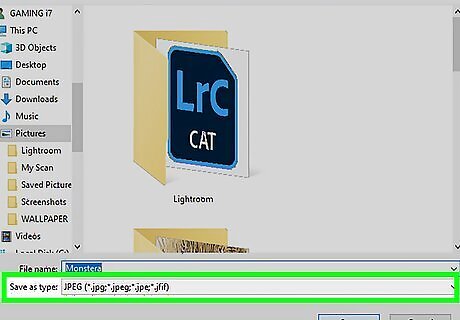
Select JPG in the dropdown beneath the file name. This will ensure your photo is saved as a JPG, not as a different file type.
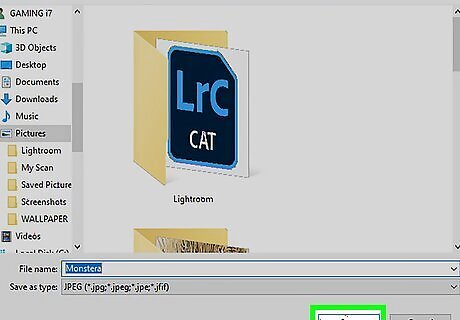
Click Save. The image is now saved as a JPG. If desired, you can delete the WEBP image from your downloads.
Exporting in Preview (macOS)
Download a WEBP image. Ctrl-click the image and select Save image (though different browsers may have slightly different wording). If you're on Mac, you can download a WEBP image and open it in Preview to save it as a different file type, including JPG.
Navigate to the image in Finder. The default download location is your Downloads folder inside your user folder.
Double click the image. This will open it in Preview. If the image doesn't open in Preview automatically, you can click File > Open With once you've selected your image file in Finder. From there, you can select Preview.
Select File > Export. This will allow you to save the file as a different file type. You can change the image's name and save location if you prefer.
Select JPEG in the dropdown at the bottom of the page. This will ensure your photo is saved as a JPG.
Click Save. The image is now saved as a JPG. If desired, you can delete the WEBP image from your downloads.
Editing the URL
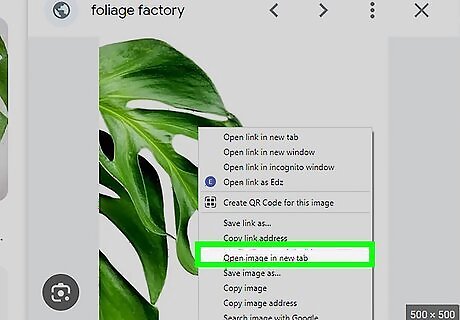
Open the WEBP image in a new tab. On a Windows computer, right-click the image and click "open in a new tab" (though the wording may be slightly different across various browsers). On a Mac, Cmd + click the image to open it in a new tab.
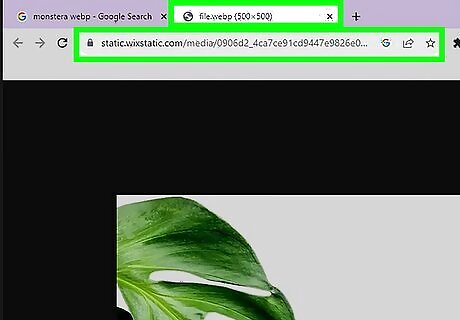
Remove the -rw at the end of the URL and press ↵ Enter. This URL extension makes the image display as a WEBP. On Mac you will need to press ⏎ Return instead of ↵ Enter.
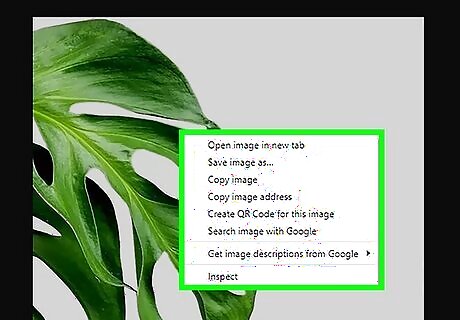
Right-click the image. On Mac, you can press ⌘ Cmd and click.
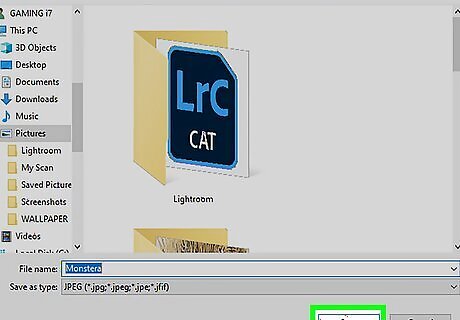
Download the image. Right-click or Ctrl + click the image and select Save image' (though different browsers may have slightly different wording). You can then choose to save the image as a JPG.
Take a Screenshot

Find a WEBP image. You can either screenshot directly from a webpage, or open the image in a new tab by right-clicking or Ctrl-clicking the image and selecting Open in new tab. Different browsers may have differently worded options.
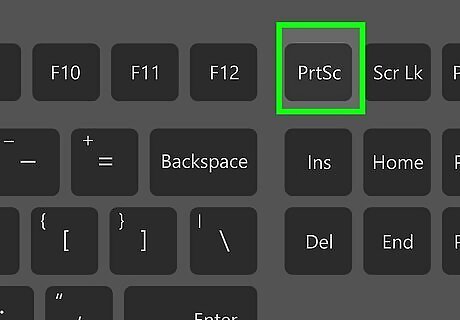
Press the screenshot button. On Windows computers, this is ⎙ PrtScr and on Mac it is ⌘ Cmd+⇧ Shift+3.
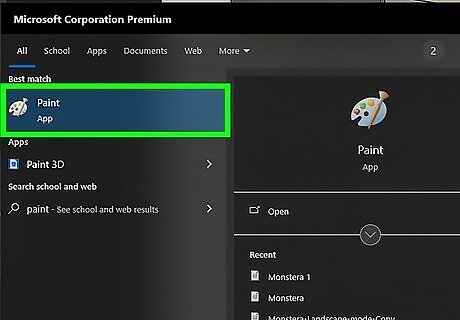
Open a photo editor of your choice. You can use Paint on Windows or Preview on Mac, or any other photo editor you've downloaded such as Photoshop, Lightroom, Canva, GIMP, or others.
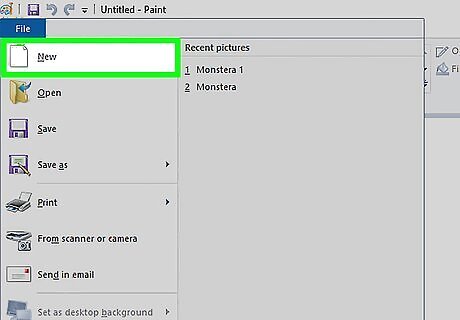
Create a new file. Each program will behave a bit differently, but most of the time you can click File > New to make a new file. Paint will automatically open with a blank file, so you don't need to make a new one. If you're using Preview, click the Preview menu item in the top left, then select File > New from Clipboard.
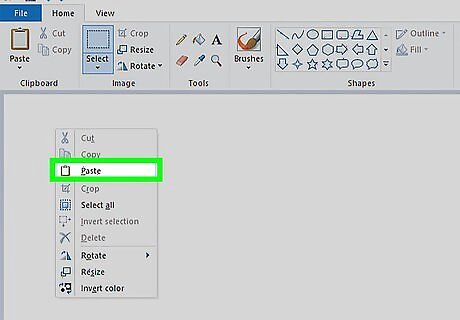
Paste the screenshot into the new file. Each program will work a bit differently, but you can usually find Paste under Edit > Paste. You can also simply use the keystroke Ctrl+V to paste on Windows or ⌘ Cmd+V on Mac. If you're using Preview and you pasted from your clipboard, you can skip this step.
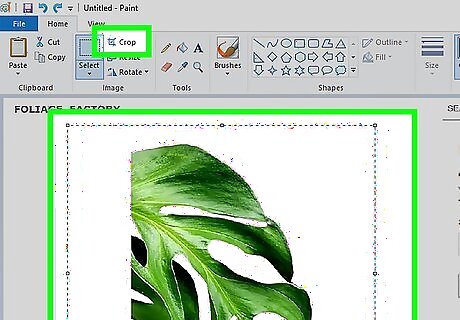
Crop as necessary. If your photo editor has cropping abilities, you can crop the image to get rid of the extra parts of the screen around the image you may not want.
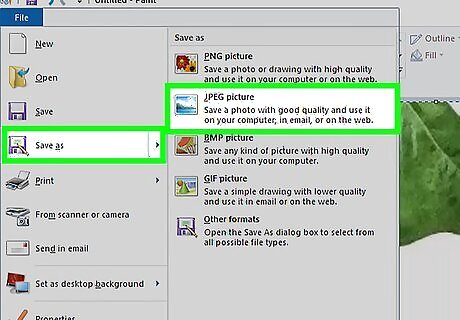
Save the image as a JPG. Each program will work a bit differently, but you can usually find options to save under File. Select Save as and save your image as a JPG.
Browser Extension
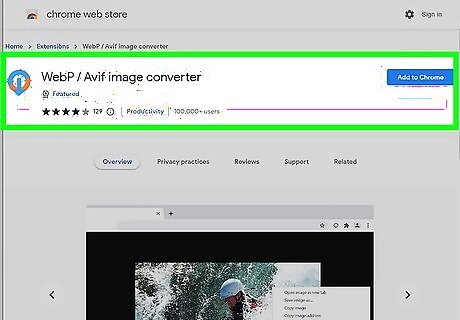
Install an extension to convert WEBP images. There are a few different Chrome and Firefox extensions out there that can do this, listed below: WebP / Avif image converter for Chrome and Firefox Save image as Type for Chrome Opera users can install Chrome extensions in their browser to save WEBP images as JPG Safari nor Microsoft Edge do not appear to have any extensions to save WEBP images as JPG
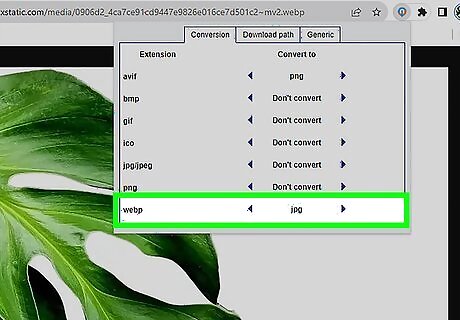
Save your image. Each extension will work slightly differently, so be sure to read the instructions on how to use the extension. However, most extensions will add a new item to the right-click menu to convert or save the image as a different type.
Online Converter
Download a WEBP image. Right-click or Ctrl-click the image and select Save image (though different browsers may have slightly different wording).
Go to CloudConvert. CloudConvert is an online file converter that allows you to convert between over 200 formats, including images, audio, video, documents, and more. CloudConvert is one of many web converters. Feel free to use a different web file converter, but note that the instructions may be slightly different.
Click the first dropdown in the top gray bar and select WEBP. You can either search for WEBP or hover Image and scroll down until you see WEBP.
Click the second dropdown in the top gray bar and select JPG. You can either search for JPG or hover Image and scroll down until you see JPG.
Click the red Select File button. You can alternatively press the arrow next to the Select File button to pick how you want to upload your image. You can upload an image from your computer, via a URL, or from a database like Google Drive, Dropbox, or OneDrive.
Navigate to your downloaded image and open it. Your default download location is the Downloads folder.
Click the red Convert button if everything looks good. If you want to convert multiple images, you can click the gray Add more Files button before you click Convert.
Save the image once it has been converted. You can click the green Download button in the popup that displays once your image is converted, or you can go back to the main CloudConvert page and click the Download button there.
Desktop Converter
Download a WEBP image. Right-click or Ctrl-click the image and select Save image (though different browsers may have slightly different wording).
Download and install a desktop converter. There are a number of desktop converters that can convert WEBP to JPG, but one popular converter that is available for Windows and macOS is XnConvert.
Open XConvert. There are other desktop converters, so feel free to download one you like. Just note that the instructions may differ if you use a different converter.
Select the Input tab and click the Add files button. This will allow you to add your WEBP files, and you can add as many as you like.
Select the Output tab. There will be a number of options you can adjust, but if you are only worried about changing the format to JPG you can select JPG - JPEG / JFIF under the Format section on the right side of the window. You can also change where your images are saved by adjusting the settings at the top of the window. You can have the images saved to the folder where your WEBP image is saved, or you can direct it to a different location.
Click Convert. This will convert your images from WEBP to JPG and save them in your specified location.





Comments
0 comment