

Using a Hair Tie
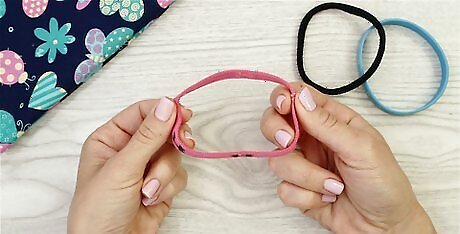
Find a hair tie. Try to get one of those fabric coated hair ties instead of a rubber band. They are much sturdier, and will last must longer.
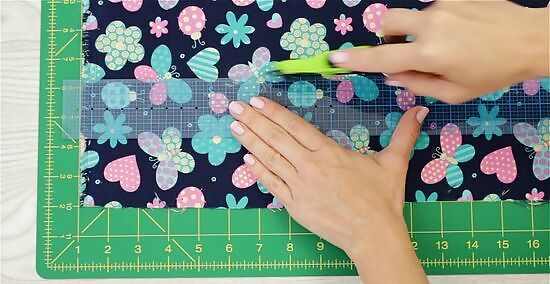
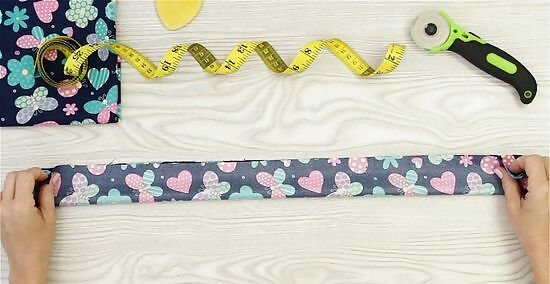
Cut a rectangle out of fabric that is 4 inches (10.16 centimeters) wide and 18 inches (45.72 centimeters). For a plain scrunchie, use some cotton or jersey knit fabric. It can be solid colored or have a small print on it. For a fancier scrunchie, try some stretch velvet instead.
Fold the rectangle in half lengthwise, with the right sides together. Don't worry; you will be turning the fabric inside out, after you sew it.
Place the hair tie inside it the rectangle. You will need to scrunch the fabric up in order to get it to wrap around the hair tie. When you are done, the long, raw edges of the rectangle should be outside the hair tie. The folded part should be on the inside. The hair tie should be sandwiched inside the folded rectangle, touching the right sides of the fabric.
Pin the corners together to keep the fabric in place. Pin the top right corner to the bottom right corner. Pin the top left corner to the bottom left corner. You can also pin the fabric along the long edge, if you'd like.
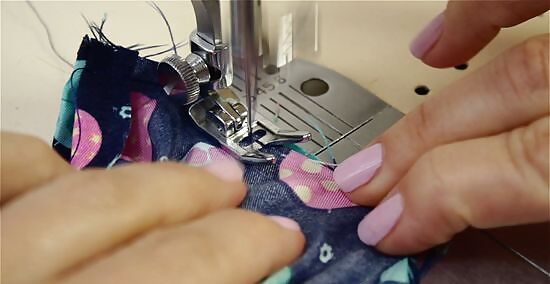
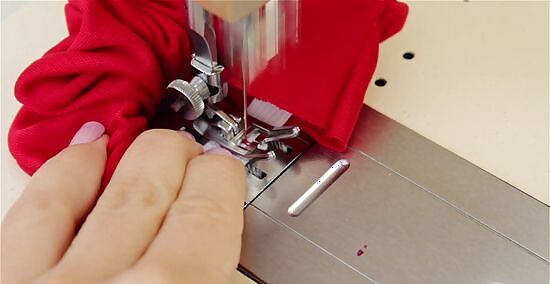
Sew along the long edge, using a ½ inch (1.27 centimeters) seam allowance. Try to use a thread color that closely matches the fabric's color. You can do this by hand, using very small stitches, or on a sewing machine. Do not stitch the narrow ends together. When you are done, you should have a tube around the hair tie. Again, you may have to scrunch the tube up to get it to fit. Remove the pins when you are done.
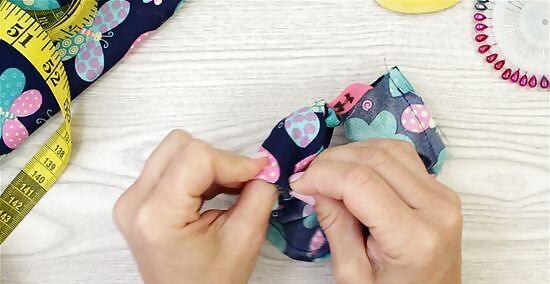
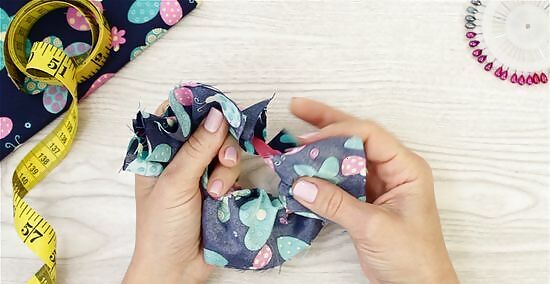
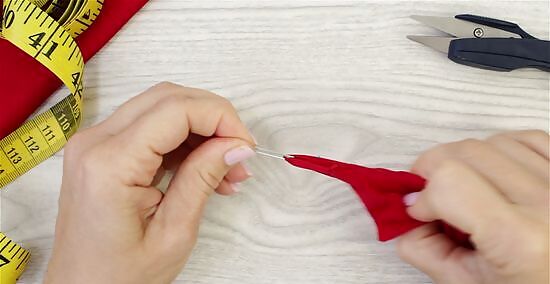
Turn the tube inside out so that the right sides of the fabric are facing out. Attach a safety pin to one of the narrow edges. Tuck it inside the tube. Scrunch as much fabric as you can onto the safety pin, and pull the pin through the tube. Keep doing this until the safety pin reaches the other side of the tube. When you are done, the seam should be on the inside, and the right side of the fabric should be facing you. Remove the safety pin when you are done.
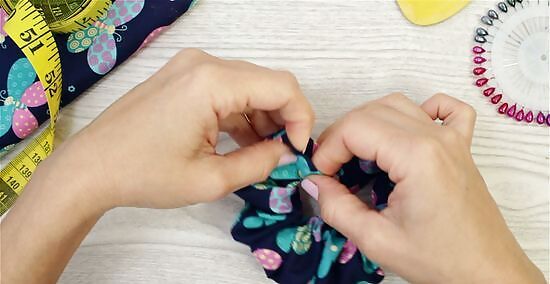
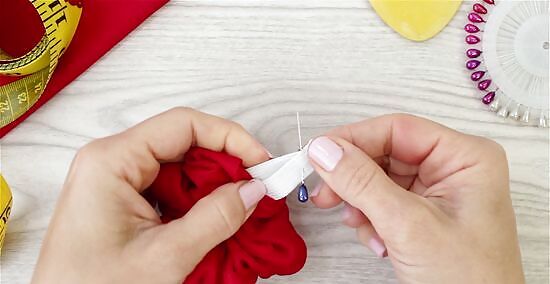
Tuck both of the narrow raw edges into the tube by ½ inch (1.27 centimeters). Make sure you do this on both sides of the tube. This will help give you a nicer seam when you are done.
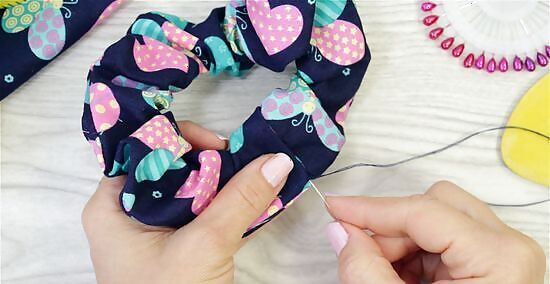
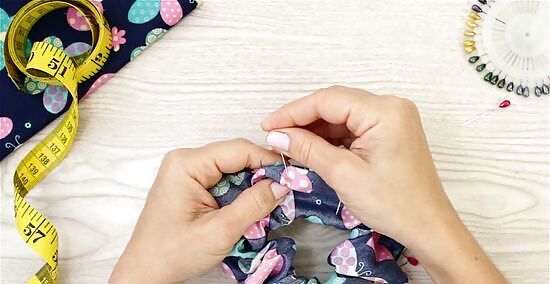
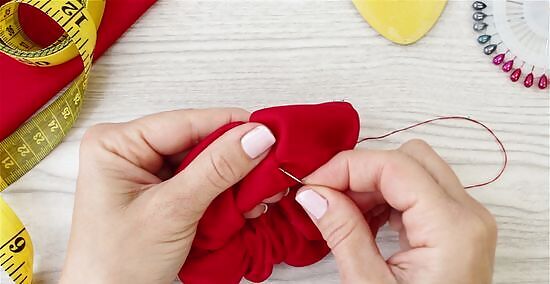
Bring the two edges together until they touch, then sew them together using a ladder stitch. Make sure you sew all along the edge of the tube, and be careful not to sew through the hair tie. You will need to do this by hand.

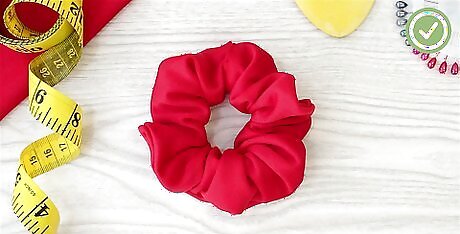
Finished.
Using a Piece of Elastic
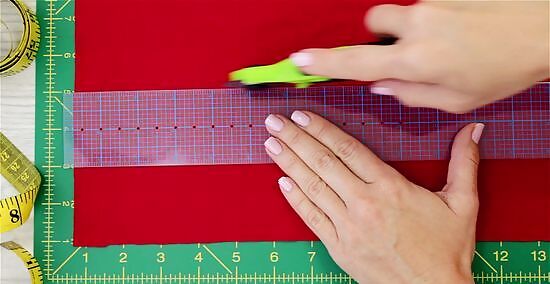
Cut a piece of fabric that is about 4 inches (10.16 centimeters) wide and 18 inches (45.72 centimeters) long. For a plain scrunchie, use some cotton or jersey-knit fabric. It can be solid colored, or have a small print on it. For a fancier scrunchie, try some stretch velvet.
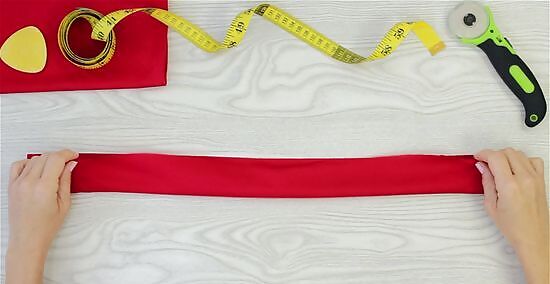
Fold it lengthways, right side in. When you are done, you should end up with a long, skinny rectangle that is it 2 inches (5.08 centimeters) wide and 18 inches (45.72 centimeters) long.
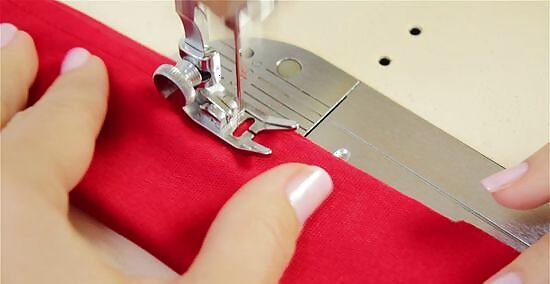
Sew along the long, raw edge using a ½ inch (1.27 centimeters) seam allowance. You can do this by hand or on a sewing machine. Do not sew the narrow ends shut just yet.
Turn the fabric tube inside out to hide the raw edge. Attach a safety pin to one of the narrow ends, and stick it into the tube. Scrunch as much fabric as you can onto the safety pin, then pull it through the tube, bringing the elastic with it. Keep doing this until the safety pin pops out on the other side. When you are done, the seam should be inside the tube, and the right sides of the fabric should be on the outside. Remove the safety pin when you are done.

Cut a 6 inch (15.24 centimeters) long piece of narrow elastic. Try to find something that is about ¼ (0.64 centimeters) wide.
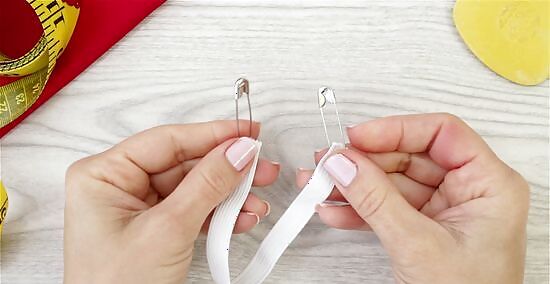
Attach a safety pin to each end of the elastic. One safety pin will help hold the elastic in place, and the other with help guide it through the fabric tube.
Attach one of the safety pins to one of the narrow ends of the fabric tube. Be sure to keep the elastic attached to it. This will hold the elastic in place as you feed it through the fabric tube.
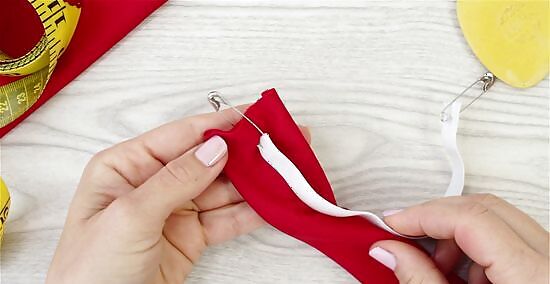
Push the elastic through the fabric tube until it comes out on the other end. Use the safety pin as a guide, just like you did when turning the fabric tube inside out.
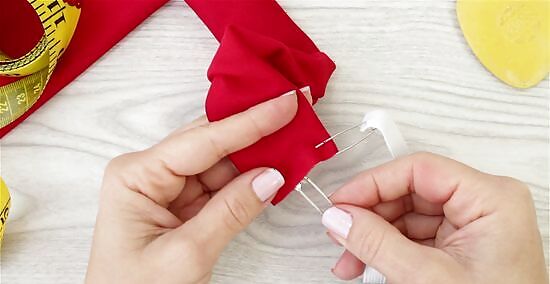
Pin the two ends of the elastic together. Spread the tube apart so that you can see the two ends of the elastic. Remove the safety pins, and pin the two elastic ends together using a regular sewing pin.
Sew the two ends of the elastic together using tiny stitches and a ½ inch (1.27 centimeters) seam allowance. You can also overlap the two ends of the elastic by ½ inch (1.27 centimeters) and sew them down. Be careful not to sew onto the fabric. Remove the pins when you are done.

Tuck the narrow, raw edges of the fabric tube inside by ½ inch (1.27 centimeters). Make sure you do this on both sides of the tube. This will help give you a nicer seam when you are finished.
Bring the two narrow ends together, and sew them to each other using a ladder stitch. Sew all the way around the edges; be careful not to sew through the elastic. You will need to do this by hand.
Finished.


Comments
0 comment