views
Taking the Cube Apart
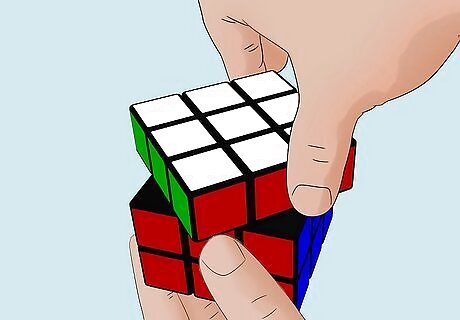
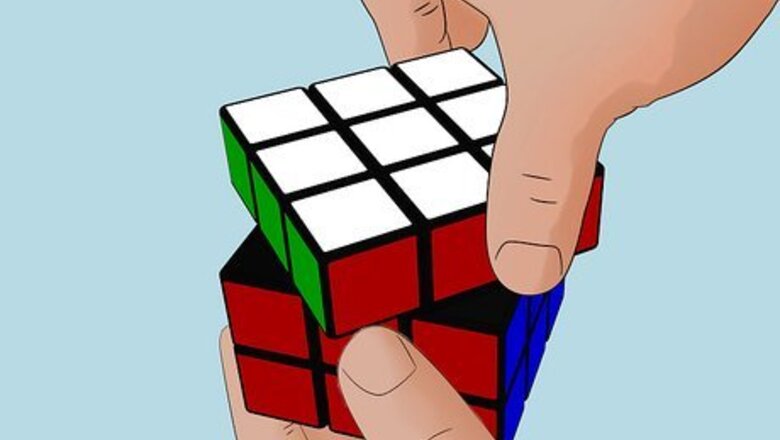
Turn the top layer 45 degrees. Hold the cube flat in your hand and grab the top layer. Turn it so that its corners are sticking out over the middle squares of the second layer. Leave it in this position for the next step.
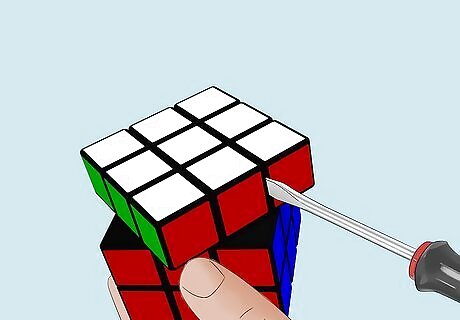
Pry one of the middle pieces on the top layer out. To be clear, you want start by prying up the middle piece on the top layer, not one of the corner pieces. Use slow, steady pressure to pry it up without breaking it. Once it is out of place, wiggle it while pushing on the back of the piece to get it to pop it out. This will be easiest with a tool like a flat head screwdriver. Use the screwdriver like a lever, putting the skinny flat end under the middle piece and pushing the other end down. There are recommendations for other tools below if you don't have a screwdriver handy. In a pinch, you can use your thumb, but this is harder.
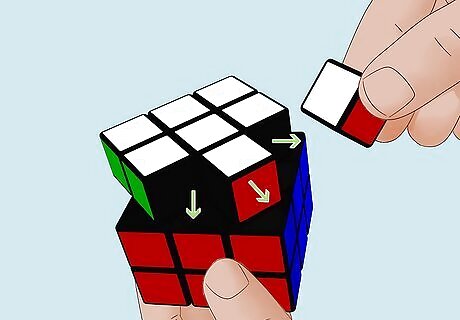
Slide the corners out. Now, there should be a gap where the middle piece was. Take out the adjacent corners by sliding them into the empty gap. Rotate them side-to-side slightly as you pull them out. It may be a little difficult to get the internal locking mechanisms to slide out, but with gentle, persistent pressure the pieces should come out easily.
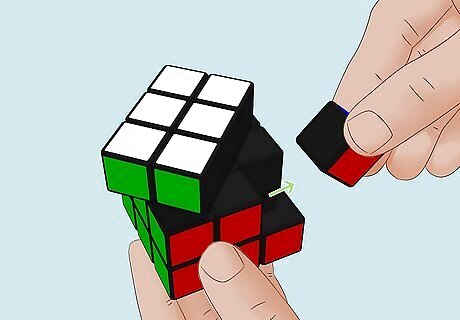
Pull out the edge right below it. You should now have three pieces out and the cube's top layer still at a 45 degree angle. Take out the middle edge piece right below the row you've removed. The pieces should come out easily without the layer above to hold it in place, but you can use a lever here if you need to.
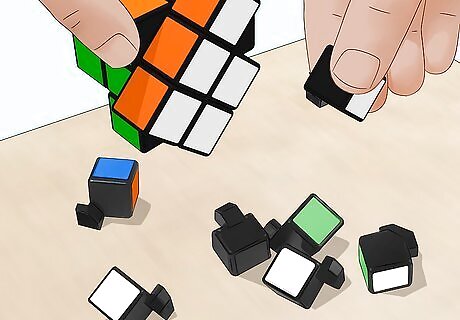
Continue to pull the rest of the pieces out. At this point, it should get easier and easier to remove each successive piece since they are no longer held in place by the ones around them. There's no "right" way to proceed here — simply pull pieces out as you wish, sliding them to the side as needed until they come out easily. You can also try turning the remaining layers so that you can pull pieces out at different angles. The last few pieces should come apart with very little effort.
Optional Tricks
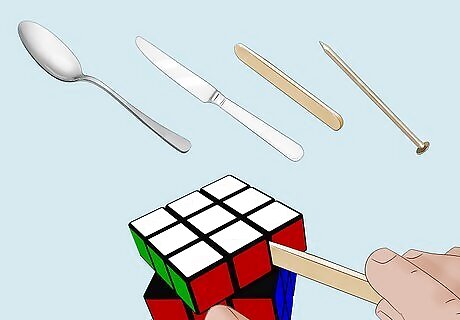
Use a different lever if you don't have a flat head. In the section above, a flat head screwdriver is recommended for prying the first few pieces out of the cube. This is a good choice, but it's far from the only tool you can use. Any sort of thin, stiff lever can be a big help. A few more suggestions are below: Spoons Butter knives Popsicle sticks Skinny wrenches or nails from your toolbox
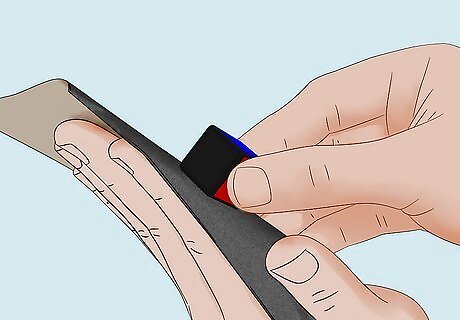
Fillet the cube's edges. "Filleting" is a term that refers to sanding away at two faces that slide against each other. You can do this to the edges of the Rubik's Cube layers that are in contact with each other to open a very small gap between the pieces. This will make the pieces a little easier to take apart (as well as put back together). Use caution with this method. Sanding too much will give the cube a much "looser" feel once it's put back together. Pieces may even fall out on their own.
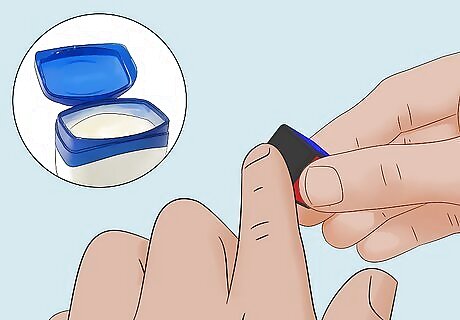
Use Vaseline. Adding a little Vaseline (or a similar lubricant) between the cube's rotating layers will make them easier to remove. When reassembled, they will slide past each other much more loosely (just as with the filleting method above). However, this method has the added benefit of not making it more likely that your Rubik's Cube will fall apart in the long run.
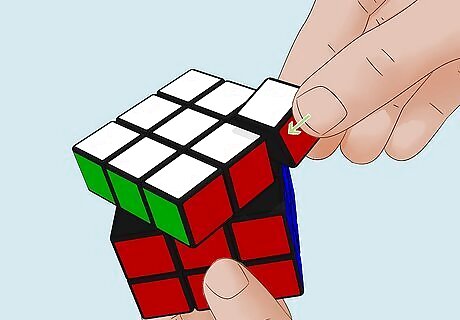
Put the cube back together starting with the edge pieces. See our main article on reassembling a Rubik's Cube for detailed instructions. The basic process is as follows: Start by putting the edge pieces back for the bottom layer (not the corner pieces). Match each edge piece with the center pieces remaining on the frame — like colors should touch. Now, add the corner pieces to the bottom layer. Again, like colors should touch. Add the corner pieces to the middle layer (the middle edge pieces are already held in place by the central frame. Build the top layer one row at a time. Once you have one row finished, turn the top layer 45 degrees (just like you did when you were taking the cube apart. The last piece you add should be a middle edge piece.


Comments
0 comment