
Preparing the Animal
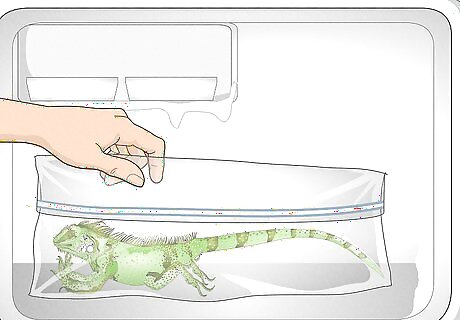
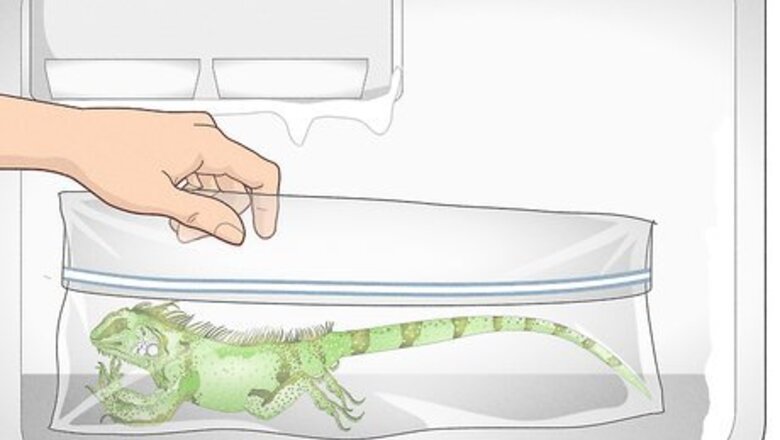
Freeze the animal until you’re ready to prepare it. When doing taxidermy, it’s important to remove the skin from the specimen as soon as possible, but until you’re ready to preserve it, freeze the animal to keep it from spoiling. Tuck the specimen in sealed plastic bag before putting it in the freezer, and in the meantime, gather the following basic taxidermy tools: Sharp knife Sewing needle Thread Stuffing or plaster cast of animal Borax, alcohol, or your preferred preserving agent
Prepare the form you’ll mount the animal on. Depending upon your animal, prepare a plaster cast of the body or purchase a premade form (as is usually done with deer busts). Or, create your own form out of recycled materials when preserving smaller animals. Use sticks to create a wooden frame the size of the skinned body, then wrap the frame in twine or old plastic bags. To prepare a cast, purchase a commercial molding agent like “Smooth On” to create a shape mold of the animal to fill with plaster. Mix a small batch of plaster with water and quickly pour it into your mold. Remove the mold and smooth the cast form with sandpaper or a small pocket knife. Don’t worry too much about the details—you just want the basic form and shape to fit the skin. If you make your own form, it helps to have a workable example to compare it to. Take a picture of the animal before you remove the skin and use materials that can be manipulated easily once you’ve started putting the form together. Mammal legs are particularly difficult to get right. Consider purchasing a premade mold for your first go around to use as a model for subsequent projects.
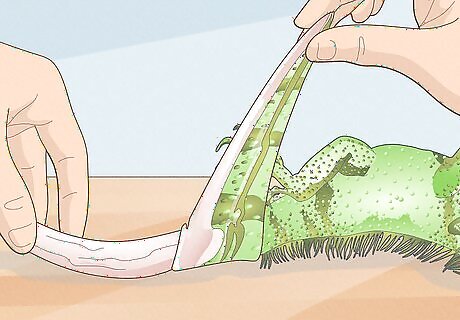
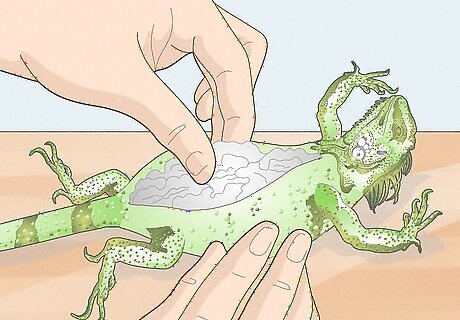
Remove the skin with a sharp knife. Carefully cut a seam up the belly of the specimen, being particularly careful not to puncture any of the organs or body cavity, as this can ruin the skin. Work your knife evenly along the inside to loosen the skin while peeling it back with your other hand. Remove as much of the flesh and fat as possible, being careful not to tear or rip the skin. The particulars of the preservation process will vary depending on whether you have a mammal or a reptile, fish, or bird, so read on for more specific instructions regarding the preservation of the skin.
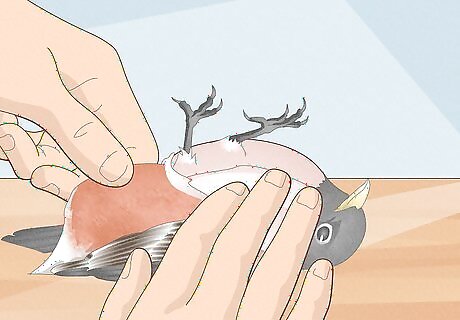
Leave the head alone if you’re preserving a fish, bird, or lizard. If you’re preparing a mammal, remove the skin from the head as you would with the rest of the body. For lizards, fish, and birds, however, you’ll need to remove the brain, eyes, and tongue but leave the shape of the head intact for preservation. The physiology of birds makes it so that you can’t (and wouldn’t want to) remove the beak, so only remove the parts of the bird that would spoil and smell bad. Smaller animals are much more difficult to taxidermy than larger mammals. Small dentistry tools or an X-Acto knife can help for this part of the process. Remove as much of the flesh as possible, though small debris can be removed during the preservation process.
Preserving the Skin
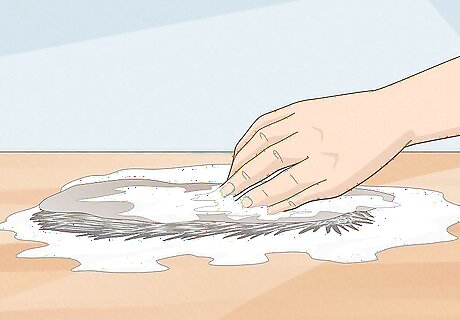
Tan the skin of mammals with salt. To properly tan a hide, rub non-iodized salt onto the flesh side of the hide, roughly an inch thick, and let it sit for 24 hours. Remove the old salt and repeat the process with new salt. Let the hide dry in a cool, dark place, and watch carefully to make sure it doesn’t get too hard to mold. Once toughened, hydrate the skin with a mix of cool water, a small capful of Lysol disinfectant, and table salt. Soak the skin in this mixture overnight and rinse several times until the mixture is removed. Hang the skin up to drain and towel dry it once it’s stopped dripping. Consider using a pickling agent at this point to treat the hide further, but be sure to remove any bits of flesh or fat still clinging to the hide before you move on to tanning it. Treat the hide with tanning oil. Heat up the oil in a microwave and rub it into the skin with your hands. Let the skin sit for several hours, then roll it up in a plastic bag and keep it in the refrigerator until you’re ready to mount it on the form.
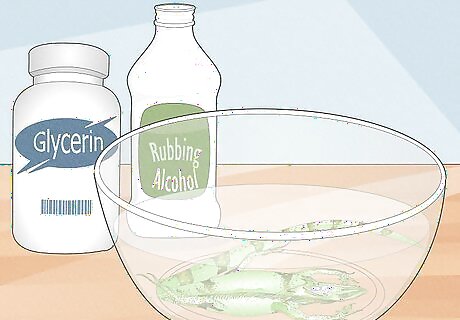
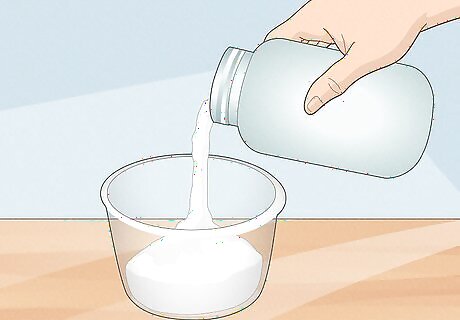
Soak reptile skin in an alcohol/glycerin mixture. To properly preserve reptile skin, soak it in a 50/50 mix of glycerin and rubbing alcohol for up to 2 weeks (and at least 2-3 days) in a cool, dark place. Make sure that the skin is fully submerged and stir it once a day. When you remove the skin, rinse it with water, spread a light coat of pure glycerin on the flesh side, and hang dry for 24 hours. Remove any remaining residue with a damp cloth.
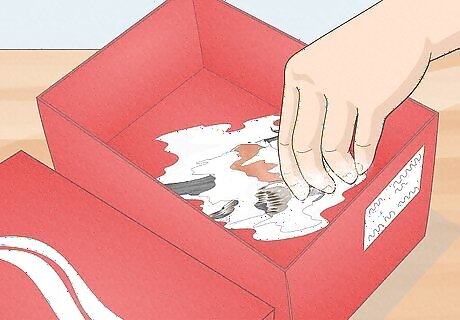
Rub borax on the inside of the skin for bird and fish preservation. Place the skin flesh-side down on a generous coating of borax inside a shoebox. Sprinkle about ⁄4 inch (0.6 cm) more borax on top of the bird’s feathers, then leave in a cool, dark, and dry location for about 4 days. The flesh will be quite stiff after you remove the specimen from the borax. Brush off the excess, and your bird or fish skin will be preserved nicely. Borax also works to preserve small mammals. The animal is fully preserved when you can tug on the fur or feathers without them coming out. If multiple feathers fall out, it’s a good indication you need to store the animal a bit longer. If necessary, use a vacuum hose to remove the excess borax. Or, rub some warmed cornmeal on the specimen to “dry clean” it and remove undesirable odors.
Arranging and Caring for Taxidermy
Place the skin on the form. If you’ve made an accurate form, stuffing your hide should be as easy as dressing a doll. Fix your preserved skin onto the form, carefully smoothing out any unnatural looking lumps or irregularities. Fix any structural problems now before you sew it up. Keep some twine on hand to stuff into spots that need some adjustment. Cut small bits of string or newspaper to fill out a muscle striation or other body part.
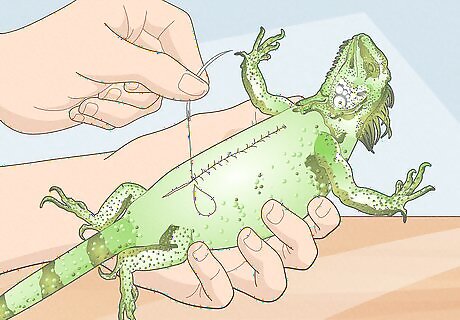
Sew it up. Use an appropriate color of thread to stitch together the seam that you originally cut. Create as tight and invisible a stitch as possible, then adorn your taxidermy with false eyes and original teeth by gluing them in place.
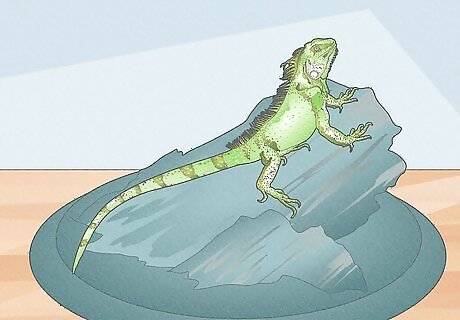
Display your project. Use your imagination! If you’re displaying a pet, keep them immortalized in a peaceful position, possibly curled up in a nap. Or, if you’re celebrating a successful hunt, bare the animal’s fierce-looking teeth. More complicated mounts are available commercially, but make your own by arranging a tableau of branches or rocks on your wall to position your taxidermy among.
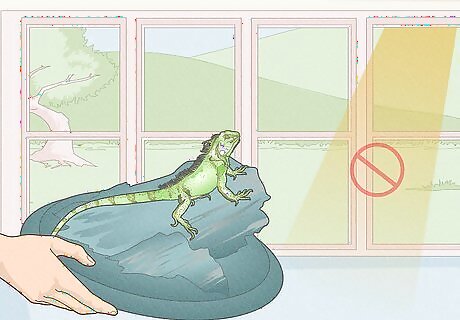
Keep your taxidermy in a climate-controlled area. Don’t let all the work of preserving your animal go to waste by ignoring it. Keep your mounts away from sunlight in an area that isn’t too damp or too dry. Dampness can result in mildew, while excessive dryness can cause hides to crack or split. If the form settles in an unnatural way, consider splitting it open and resewing. Dust them periodically to keep them clean and realistic-looking.


Comments
0 comment