views
Tying the End Knot
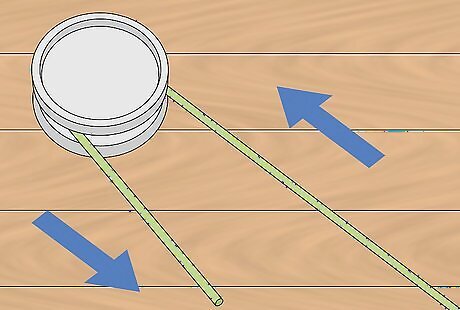
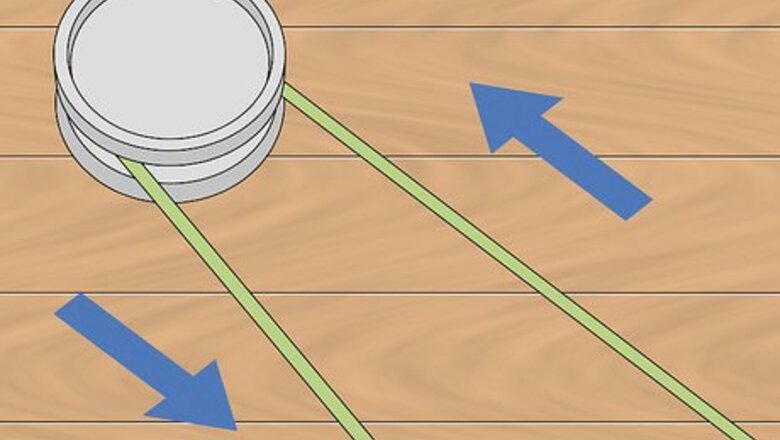
Wrap the string around whatever you’re tying the knot to. Take the free end of the string and wrap it around whatever you’re tying the knot to. Pull both sides of the string so that it’s tight against the object. Both ends of the string should point in the same direction and run parallel with each other. If you’re tying the knot to a fishing rod, you’d wrap the string around your spool.
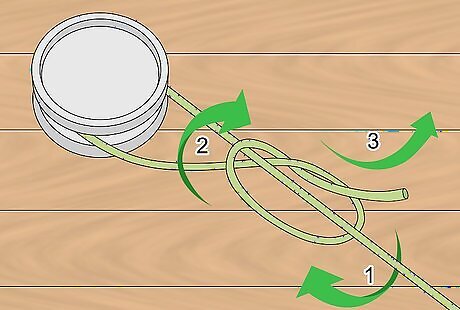
Form a 1 in (2.5 cm) loop at the end of the line. Hold the free end of the string or rope and cross it over the string or rope to form a loop at the very end of it.
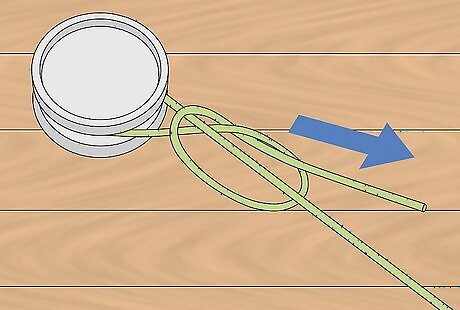
Pull the free end of the string through the loop. Pull the free end of the string up and through the loop and continue pulling it till it forms a knot. You should now have a small knot at the end of your string or rope. This is what is known as an overhand knot, and is one of the most common knots out there.
Finishing the Arbor Knot
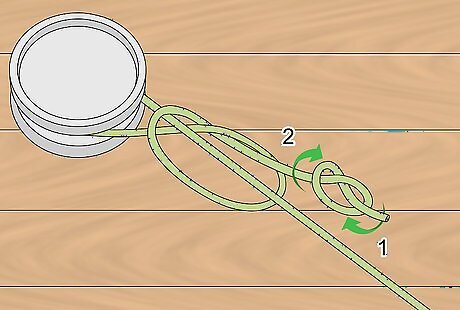
Loop the free end of the string over the mainline. The mainline is the portion of rope or string that’s on the other side of your spool or object. Cross the free end of the string (the end with the knot) over the mainline, then bring it under the mainline so that it forms a loop around it. Hold the loop with your fingers. This loop should be around 1–2 inches (2.5–5.1 cm) large. The main line should be able to move through the loop you created.
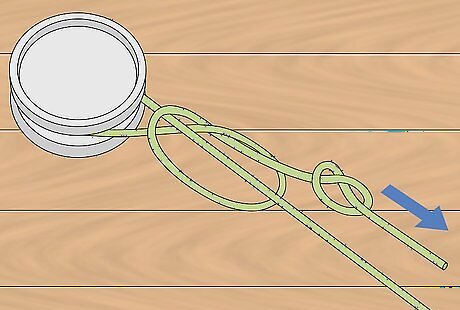
Pull the string over the free line. Take the end of the string and cross it over your free line again with the loop still intact.
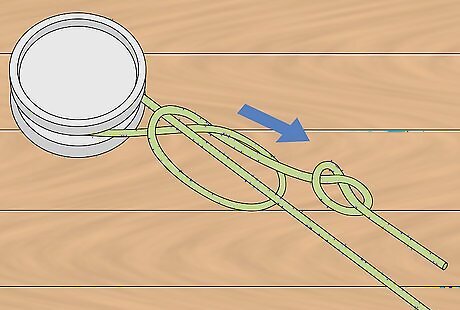
Pull the end of the string behind and through the loop. Thread the tag end of the line through the loop to make a slip knot. Pull on the free end of the string to tighten the knot. This will create a slipknot that can slide down your string or rope.
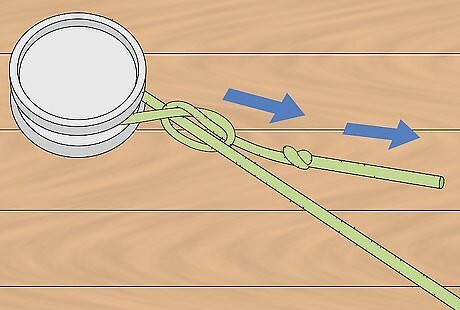
Pull on both strings to tighten the knot. Pulling on the strings will tighten the slipknot around whatever you’re tying the knot to and position both knots right next to each other.
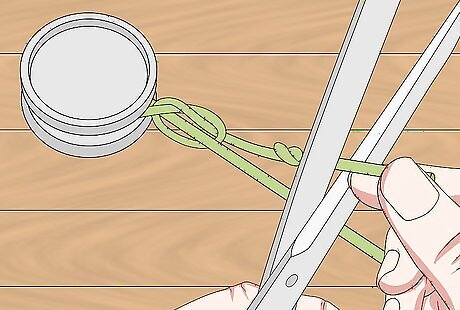
Trim the excess free line. Use a pair of scissors or a razor blade to cut the excess string on the free line. Cut the line or rope so there is a ⁄4 inch (0.64 cm) of slack at the end of the knot.


Comments
0 comment